

The inchworm is a bodyweight exercise that takes you from standing into a high plank and back again. You reach toward the floor, walk your hands forward, hold a strong plank, walk your hands back and return to standing.
This full-body movement challenges your shoulders and core while moving your hips, hamstrings and calves through a comfortable range. It needs no equipment and works well in warm-ups, fitness circuits, PE classes and BoardGains workouts.
Written by Eric Mathura, B.Sc. Kinesiology and CSEP-CPT, with more than 10 years of experience as a personal trainer and group fitness instructor. Updated August 19, 2026.
Quick answer: Stand with your feet hip-width apart. Bend your knees as needed and place your hands on the floor. Walk your hands forward in small steps until they are under your shoulders in a high plank. Brace your core and squeeze your glutes. Walk your hands back, bend your knees and stand tall. One complete walkout and return equals one rep.
Inchworm Exercise Overview
- Also called: Inchworm walkout or hand walkout
- Level: Beginner to advanced
- Equipment: None; a mat is optional
- Main muscles: Shoulders, arms and core
- Supporting muscles: Chest, upper back, glutes and legs
- Movement type: Standing hinge, hand walkout and high plank
- One rep: Walk out to plank and return to the starting position
What Is the Inchworm Exercise?
The inchworm is a standing-to-plank bodyweight exercise. Your hands take small steps along the floor until your body reaches a high plank. They then walk backward until you can return to standing.
The short hand movements resemble the way an inchworm moves, which gives the exercise its name. You may also hear it called an inchworm walkout, hand walkout or plank walkout.
There are two common versions:
- In-place inchworm: Walk the hands forward into a plank and then back toward the feet.
- Travelling inchworm: Walk the hands into a plank, then take small steps with the feet toward the hands to move forward.
BoardGains uses the in-place version because it needs less travelling space and is easier to organize in group workouts.
How to Do the Inchworm Exercise Step by Step
- Stand tall. Place your feet about hip-width apart with your arms relaxed.
- Prepare to reach. Keep a soft bend in your knees, brace your core and push your hips back.
- Place your hands down. Reach toward the floor and bend your knees as much as needed to put your palms down comfortably.
- Walk forward. Take small steps with your hands, moving one hand and then the other.
- Reach a high plank. Stop when your hands are under or slightly outside your shoulders and your body is controlled from head to heels.
- Build tension. Press the floor away, brace your stomach, squeeze your glutes and tighten your legs.
- Pause briefly. Show control in the plank without letting your hips sag or rise.
- Walk back. Take small steps with your hands toward your feet. Bend your knees as needed.
- Return to standing. Once your hands are close to your feet, lift your chest and stand tall with control.
How to count a rep: Walking out to a controlled high plank and returning to the starting position equals one repetition. The walkout alone is not a complete rep.
A useful BoardGains coaching cue is: “Hands down. Walk out. Hold your plank. Walk back.”
Key Inchworm Form Cues
Bend Your Knees When Reaching Down
Your legs do not need to remain straight. Keeping the knees straighter may create more stretch through the hamstrings and calves, but forcing that position can make the floor hard to reach. Bend your knees enough to place your hands down without pulling or rounding quickly.
Mobility and body proportions vary. Trainers and PE teachers should avoid asking every participant to lock the knees. The goal is a controlled transition into the plank.
Hinge Before You Walk
Push your hips back as your hands move toward the floor. Do not throw your upper body down. A smooth hip hinge and knee bend help you maintain balance and prepare your hands to accept weight.
Take Small Hand Steps
Walk one hand forward and then the other. Small steps make it easier to control how your body weight shifts. Very large hand reaches can cause the shoulders, hips or lower back to collapse.
Stop at a Strong Plank
Walk forward until your wrists are around shoulder level and your body reaches a high plank. Do not keep reaching farther just to increase distance. An extended plank with the hands in front of the shoulders is a harder variation and is not required.
Control the Return
Walk your hands back with the same control used on the way out. Bend your knees as the hands get close to your feet, then lift your chest and stand. Avoid suddenly throwing your weight backward.
Keep Breathing
Use steady breaths through the walkout and return. You can exhale as you reach the plank, inhale during the brief pause and continue breathing as you walk back. Stop and reset if you find yourself holding your breath.
Short coaching cues: “Bend your knees.” “Small hand steps.” “Hands under shoulders.” “Press the floor away.” “Squeeze your glutes.” “Walk back with control.” “Stand tall.”
Correct High-Plank Position During an Inchworm
The high plank is the most demanding position in the inchworm. When you reach the end of the walkout:
- Place your hands under or slightly outside your shoulders.
- Spread your fingers and press through the whole hand.
- Press the floor away so your chest does not collapse.
- Look at the floor and keep your neck in line with your spine.
- Brace your abdominal muscles and control your ribs.
- Lightly squeeze your glutes.
- Tighten your quadriceps and keep your legs active.
- Keep your hips between the high and low positions.
Pause only long enough to show control. The standard inchworm does not require a long plank hold unless your workout adds one. If your hips drop before you reach the plank, shorten the walkout or use the kneeling option.
What Muscles Do Inchworms Work?
- Shoulders: Support your upper body and control each hand step.
- Triceps and chest: Help keep the elbows extended and the upper body stable.
- Upper back: Helps control the shoulder blades as your weight moves onto your hands.
- Core: The abdominal and spinal-stabilizing muscles help keep the trunk and hips controlled during the walkout and plank.
- Glutes and quadriceps: Help stabilize the high plank and assist as you return to standing.
- Hamstrings and calves: Move through a stretch during the standing reach, especially when the knees remain straighter.
The inchworm uses the whole body, but it is usually treated as a warm-up, movement drill or core-stability exercise rather than a heavy strength exercise.
Benefits of the Inchworm Exercise
Moves the Whole Body
The inchworm combines a standing hip hinge, hand walkout and high plank. Many joints and muscle groups take part in one continuous repetition.
Challenges Core Stability
Your core works to keep your torso and pelvis controlled as your body weight shifts from your feet toward your hands. The challenge increases as the body gets closer to the full plank.
Builds Shoulder Support
Your shoulders, chest, arms and upper back support part of your body weight during the hand walk and plank. Pressing the floor away helps keep the upper body active.
Moves the Back of the Legs
The standing reach can move the hamstrings and calves through a comfortable range. This should feel controlled, not forced. Bend your knees whenever needed.
Requires No Equipment
You only need enough floor space to reach a plank. The in-place version works especially well when many people have their own workout area.
Fits Into Warm-Ups
A few controlled inchworms can prepare the shoulders and core for push-ups, plank presses, mountain climbers and other movements that place weight through the hands.
Offers Clear Difficulty Levels
Participants can bend their knees, shorten the walkout, lower the rep count or begin from a kneeling position. More advanced participants can add a push-up, shoulder tap or plank hold.
Beginner Inchworm Modifications
1. Kneeling Inchworm
The official BoardGains beginner option starts from the knees:
- Kneel on a comfortable floor or exercise mat.
- Place your hands on the floor in front of your knees.
- Walk your hands forward one at a time.
- Continue until your body forms a controlled line from your knees through your hips to your shoulders.
- Brace your stomach and avoid dropping your hips.
- Walk your hands back toward your knees.
- Return to an upright kneeling position.
Walking out from the knees and returning to the starting position equals one modified rep. This option removes the standing hinge and shortens the body lever, reducing the demand on the shoulders and core.
2. Bent-Knee Inchworm
Bend your knees more deeply when reaching down and returning. This makes it easier to place the hands on the floor and is a normal adjustment, not a failed rep.
3. Short Walkout
Walk your hands forward only as far as you can keep your hips and lower back controlled. Pause, then return. Gradually add distance as your strength improves.
4. High-Plank Practice
If the full walkout feels difficult, practise holding a high plank from the feet or knees. Build the end position before combining it with the hinge and hand walk.
5. Fewer Repetitions
Start with two or three slow reps. Inchworms take longer and place more weight through the hands than many standing warm-up exercises. A short, controlled set is enough for beginners.
Progression tip: First build a strong kneeling plank or short walkout. Increase the distance only when your hips remain controlled. Add push-ups or other movements after the standard inchworm feels steady.
Inchworm Exercise Variations
- Travelling inchworm: Walk your hands into a plank, then take small steps with your feet toward your hands. Stand and repeat while moving forward.
- Inchworm with a push-up: Perform one controlled push-up after reaching the high plank. Use a knee-supported push-up if needed.
- Inchworm with shoulder taps: From the plank, tap one hand to the opposite shoulder and repeat on the other side. Widen your feet to improve stability.
- Inchworm with a plank hold: Pause in the high plank for 5 to 10 seconds before walking back.
- Inchworm to downward dog: From the plank, push your hips upward into an inverted V, return to plank and walk back.
- Inchworm to mountain climber: Add one controlled knee drive per side after reaching the plank.
- Single-leg inchworm: Lift one foot during part of the hinge or plank. This advanced option requires more balance and hip control.
Master the standard inchworm before adding extra movement. A variation should not cause the hips to sag, the hands to rush or the return to become uncontrolled.
Common Inchworm Mistakes and How to Fix Them
Mistake 1: Dropping Quickly Toward the Floor
What it looks like: The upper body falls forward with little hip or knee control.
Try this: Push your hips back, bend your knees and lower your hands smoothly.
Mistake 2: Forcing Straight Legs
What it looks like: The knees lock while the person struggles to reach the floor.
Try this: Bend your knees as much as needed. Straight legs are not required.
Mistake 3: Taking Very Large Hand Steps
What it looks like: Each reach shifts the body suddenly and makes the shoulders or hips collapse.
Try this: Use smaller hand movements and keep the shoulders active.
Mistake 4: Hips Sag in the Plank
What it looks like: The stomach drops and the lower back arches.
Try this: Brace your core, squeeze your glutes and shorten the walkout or use the kneeling version.
Mistake 5: Hips Stay Too High
What it looks like: The person stops in an inverted V instead of reaching a high plank.
Try this: Continue until the shoulders move over the wrists, but only if you can keep the trunk controlled.
Mistake 6: Walking Beyond a Controllable Plank
What it looks like: The hands travel well ahead of the shoulders and the lower back drops.
Try this: Stop with the hands under the shoulders. A longer reach is an advanced variation.
Mistake 7: Looking Too Far Forward
What it looks like: The head lifts and the neck arches during the walkout.
Try this: Look at the floor between or slightly ahead of your hands.
Mistake 8: Rushing the Return
What it looks like: The hands move back quickly and the body jerks upright.
Try this: Walk back in small steps, bend your knees and stand with control.
Mistake 9: Holding Your Breath
What it looks like: The face and neck tense as the walkout continues.
Try this: Use steady breaths and reduce the distance or repetitions when needed.
Mistake 10: Performing Too Many Reps
What it looks like: Fatigue leads to sagging hips and rushed hand steps.
Try this: Use shorter sets and stop as soon as the movement quality changes.
How Many Inchworms Should You Do?
Inchworms are slower and more demanding than many standing warm-up exercises. You may not need a large number.
- Beginner: 1 to 2 sets of 3 to 5 reps
- General fitness: 2 to 3 sets of 5 to 8 reps
- Warm-up: 3 to 6 controlled reps
- Timed circuit: 20 to 30 seconds
- BoardGains game: Complete the number shown using the standing or kneeling version
Stop the set if your hips sag, your hands begin to rush or you cannot return to standing with control.
Simple Full-Body Circuit
- 5 inchworms
- 12 bodyweight squats
- 20 mountain climbers total
- 12 glute bridges
- Rest for 60 to 90 seconds and repeat for 2 or 3 rounds
Change the repetitions and rest for the group. Participants can perform kneeling inchworms or shorter walkouts during the same station.
How to Teach Inchworms in PE or Group Fitness
- Show the standing hip hinge and explain that knees may bend.
- Demonstrate small hand steps.
- Pause in the high plank so the group can see the hand and hip positions.
- Show how the hands walk back toward the feet.
- Finish by standing tall.
- Demonstrate the kneeling option.
- Explain that one walkout and return equals one rep.
Give every participant enough room to reach a full plank without contacting another person. For larger groups, organize people in rows with extra space and use the in-place version rather than travelling forward.
Useful cues include “bend your knees,” “small hand steps” and “hold your plank.” Give one or two cues at a time and encourage participants to stop before their hips lose control.
Inchworms in BoardGains
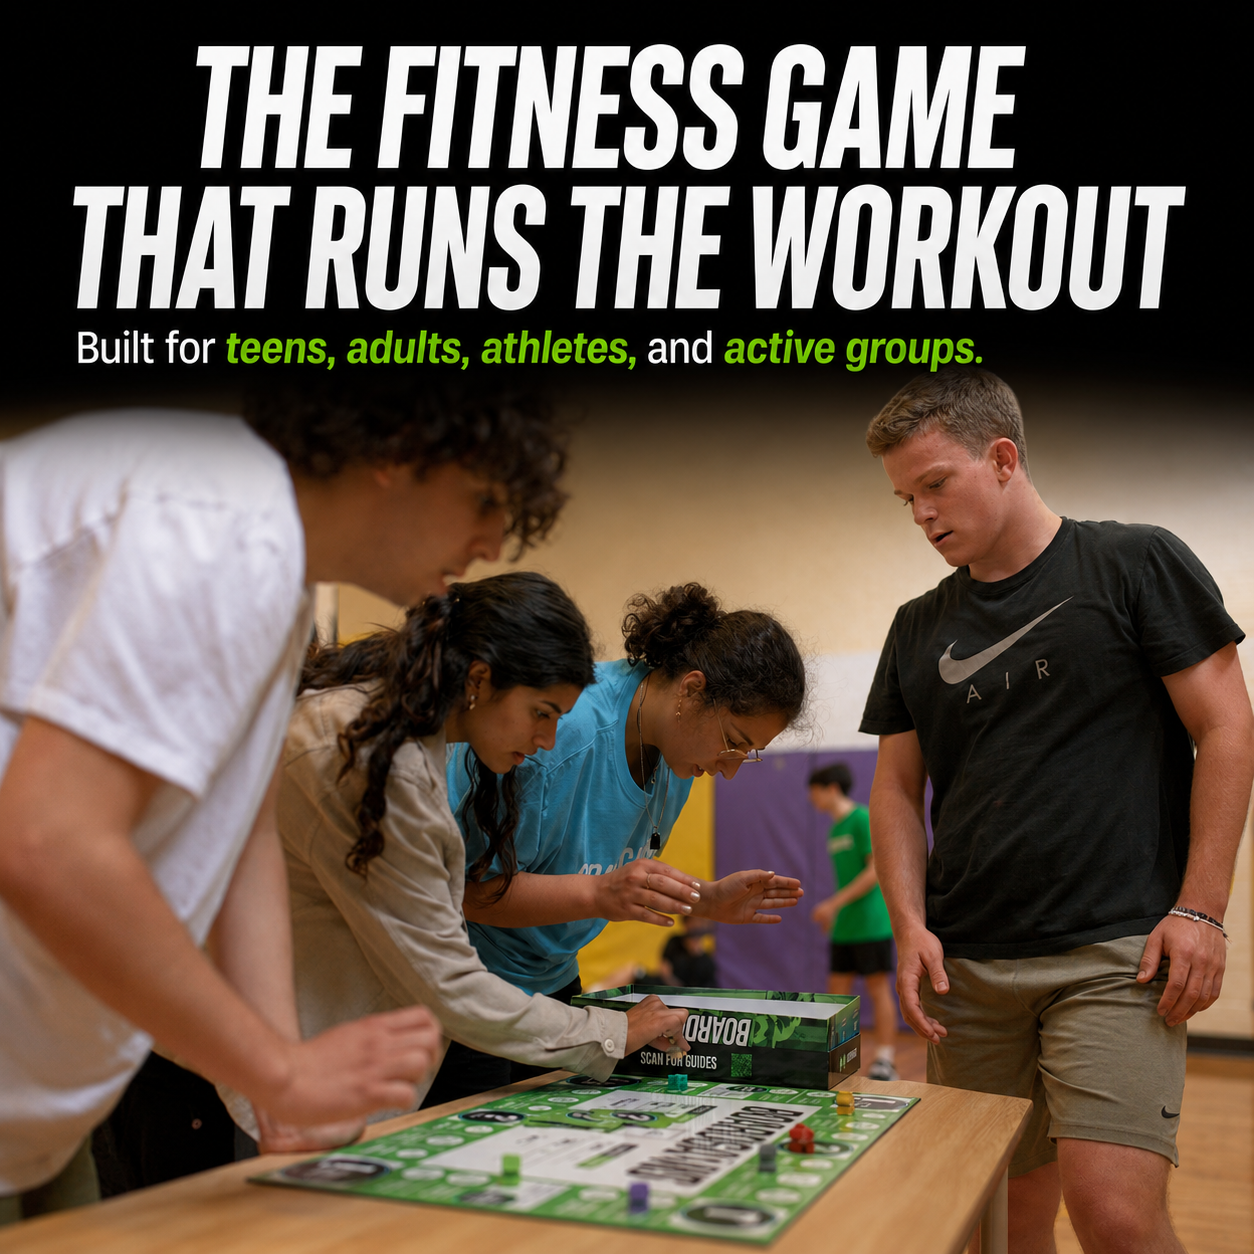
The inchworm is one of the bodyweight exercises included in the BoardGains Pro Edition. When a player lands on the inchworm space, they complete the required repetitions and continue around the board.
Players can use the standard standing version or the official beginner modification from the knees. This lets trainers and PE teachers keep everyone involved while offering a clear lower-load option.
Before the game begins, demonstrate the full rep and set up enough space for every player or team. Count one rep only after the participant walks out, reaches their controlled plank and returns to the starting position.
Turn Full-Body Exercise Into a Game
Bring movement, teamwork and friendly competition to your PE class, group workout, team practice or family fitness session.
Inchworm Exercise FAQs
What is an inchworm exercise?
It is a bodyweight walkout that moves from standing into a high plank and back to standing. The hands take small steps along the floor while the feet stay in place.
How do you count an inchworm?
Walking the hands into a high plank and returning to the starting position equals one repetition.
Do I need to keep my legs straight?
No. Bend your knees as much as needed to reach the floor comfortably. Straighter legs may increase the stretch, but they are not required for a correct rep.
What if I cannot reach the floor?
Bend your knees more or use the kneeling modification. Do not force your hands toward the floor while keeping your knees locked.
Is an inchworm the same as a walkout?
The names are often used for the same exercise. Some inchworm versions travel forward by walking the feet toward the hands. BoardGains uses an in-place walkout.
Is the inchworm a core exercise?
The core works throughout the movement, especially during the hand walk and high plank. The shoulders, arms, chest, glutes and legs also contribute.
Are inchworms good for beginners?
Yes, when the exercise is adjusted to the person’s ability. Beginners can bend their knees, shorten the range, reduce the reps or begin from a kneeling position.
Why do my hips drop in the plank?
You may be walking farther than your core and shoulders can control. Shorten the walkout, squeeze your glutes or use the kneeling option.
What should I do if my wrists hurt?
Stop if the movement causes sharp or increasing wrist pain. Check that your fingers are spread and pressure is shared through the whole hand. An elevated plank may reduce load, but an elevated moving walkout needs a safe setup and close supervision. Ask a qualified healthcare professional for advice if pain continues.
Can I add a push-up?
Yes. Add one controlled push-up after reaching a strong high plank. This increases the upper-body challenge. Use a knee-supported push-up if needed.
Is the inchworm a good warm-up?
It can be used in a dynamic warm-up because it moves several joints and prepares the shoulders and core to support body weight. Keep the reps controlled and match the exercise to the workout ahead.
Should I hold the plank during an inchworm?
A brief pause is enough to show control. You do not need a long hold unless the workout specifically adds one. Keep breathing and begin the return before your hips sag.
Final Inchworm Form Checklist
- Start with your feet about hip-width apart
- Push your hips back and bend your knees as needed
- Place your hands down with control
- Use small hand steps
- Stop with your hands around shoulder level
- Press the floor away in the plank
- Brace your core and squeeze your glutes
- Keep your head and neck neutral
- Walk back with the same control used on the way out
- Stand tall to finish the rep
Do not rush to reach the plank. Take small hand steps, keep your hips controlled and bend your knees whenever needed. Hands down. Walk out. Hold your plank. Walk back.






Leave a comment
This site is protected by hCaptcha and the hCaptcha Privacy Policy and Terms of Service apply.