
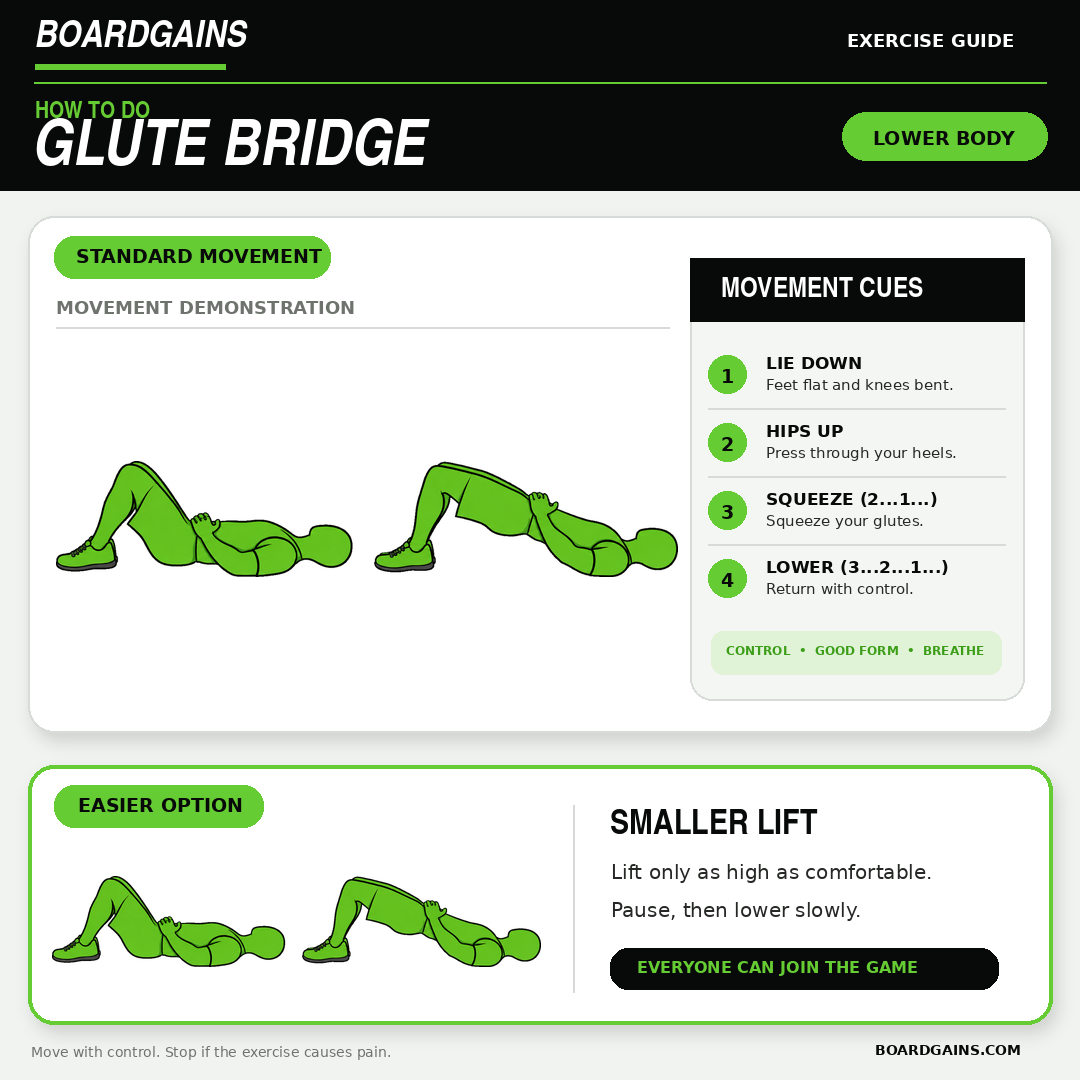
The glute bridge is a floor exercise that uses hip extension to train your glutes while your core helps keep your trunk steady.
It requires no equipment and very little space, so it works well in home workouts, warm-ups, PE classes, group fitness sessions and BoardGains games.
The goal is not to lift your hips as high as possible. A strong repetition ends when your shoulders, hips and knees form a long line without your ribs flaring or your lower back over-arching.
This guide explains how to do a glute bridge with proper form, where to place your feet, how to count repetitions and how to adjust the movement when you feel it more in your hamstrings or lower back.
Written by Eric Mathura, B.Sc. Kinesiology and CSEP-CPT, with more than 10 years of experience as a personal trainer and group fitness instructor. Updated August 18, 2026.
Quick answer:
Lie on your back with your knees bent and feet flat. Brace gently, press through your whole feet and squeeze your glutes to lift your hips. Stop before your lower back arches, pause, then lower with control. One complete lift and return equals one repetition.
Quick exercise overview
- Exercise: Glute bridge
- Also called: Bodyweight glute bridge or floor bridge
- Level: Beginner
- Equipment: None; an exercise mat is optional
- Main muscle: Gluteus maximus
- Also works: Hamstrings, hip stabilizers and core muscles
- Rep count: One full lift and controlled return equals one rep
Watch: How to Do a Glute Bridge
Table of Contents
- What Is a Glute Bridge?
- How to Do a Glute Bridge
- How to Count Repetitions
- Foot Placement, Hip Height and Breathing
- Muscles Worked
- Benefits
- Reduced-Range Modification
- Variations
- Common Mistakes
- Group Coaching Tips
- Glute Bridges in BoardGains
- Frequently Asked Questions
What Is a Glute Bridge?
A glute bridge is a bodyweight hip-extension exercise performed while lying face up. You bend your knees, keep your feet on the floor and lift your hips by contracting your glutes.
Your shoulders and upper back remain supported by the floor. That stable position makes the basic bridge easier to learn than many standing hip-hinge exercises.
The glute bridge is often included in warm-ups, lower-body workouts and beginner strength programs. It can also be progressed with pauses, bands, a single-leg position or added resistance.
How to Do a Glute Bridge With Proper Form
- Lie on your back on the floor or an exercise mat.
- Bend your knees and place your feet flat, about hip-width apart.
- Point your toes mostly forward and position your heels roughly a hand-length from your glutes.
- Rest your arms beside your body and relax your head, neck and shoulders.
- Gently brace your abdominal muscles and bring your ribs toward a stacked position over your pelvis.
- Press through your whole feet and squeeze your glutes.
- Lift your hips until your shoulders, hips and knees form a long line.
- Keep your knees tracking in the same direction as your toes.
- Pause briefly at the top without arching your lower back.
- Lower your hips under control until they return to the floor.
Movement cue: Feet planted. Ribs down. Squeeze and lift. Stop at a long line.
How to Count Glute-Bridge Repetitions
One complete lift and controlled return to the floor counts as one repetition.
- Start with your hips on the floor.
- Lift to your highest controlled position.
- Pause briefly.
- Lower until your hips return to the starting position.
That full cycle is one rep. A pulse at the top is not another full repetition unless your workout specifically calls for bridge pulses.
During BoardGains, complete the number shown on the board. Focus on distinct, controlled repetitions instead of bouncing to finish faster.
Glute-Bridge Form Tips
Where Should Your Feet Be?
Begin with your feet about hip-width apart and your heels roughly 6 to 8 inches—or about a hand-length—from your glutes. At the top, your shins should be close to vertical.
This is a starting point, not a fixed measurement. Leg length and mobility differ, so adjust slightly until you can keep your feet flat and feel your glutes working.
- Feet too far away: You may feel more hamstring effort or cramping.
- Feet too close: You may feel crowded at the knees or shift more effort toward the front of the thighs.
- Feet too wide or narrow: Your knees may become harder to keep aligned.
Keep the heel, ball of the big toe and ball of the little toe in contact with the floor. Do not let your heels lift.
How High Should Your Hips Go?
Lift until your body forms a long line from your shoulders through your hips to your knees. Stop at the highest point you can reach while keeping your ribs controlled and your lower back comfortable.
More height is not automatically better. If your hips continue rising only because your ribs flare and your lower back arches, you have passed your useful range.
What Should Your Pelvis and Core Do?
Brace gently before you lift. Think about bringing the bottom of your ribs and the front of your pelvis slightly closer together. This can help you lift from the hips instead of creating extra motion through the lower back.
Avoid an exaggerated tuck or forceful flattening. The goal is a steady, comfortable trunk position that you can maintain while breathing.
Where Should Your Knees Point?
Keep your knees roughly over your ankles and pointing in the same direction as your toes. Do not let them collapse inward or spread far apart as you lift.
If knee position is difficult to control, slow down, reduce the height or place a light resistance band above your knees as a reminder to maintain alignment.
How Should You Breathe?
Exhale as you brace and lift. Inhale as you lower, or use another steady breathing rhythm that prevents breath-holding.
Keep your jaw and neck relaxed. Look upward and avoid turning your head while your hips are elevated.
What Muscles Do Glute Bridges Work?
Gluteus Maximus
The gluteus maximus is the main muscle responsible for extending the hip during the bridge. It produces most of the upward movement when form and foot placement are controlled.
Hamstrings
The hamstrings assist with hip extension. Some hamstring effort is normal, but they should not need to cramp or take over the exercise.
Hip Stabilizers
Muscles around the hips help keep the pelvis level and the knees aligned. Their stabilizing role becomes more challenging in marching and single-leg bridge variations.
Core Muscles
The abdominal and back muscles work to keep the trunk and pelvis steady. The bridge is not mainly an abdominal exercise, but core control helps prevent excessive lower-back motion.
The lower back may contribute to trunk stability, but it should not be the main place where you feel the exercise.
Benefits of Glute Bridges
Builds Hip-Extension Strength and Endurance
Repeatedly lifting and lowering the hips challenges the glutes through hip extension. The difficulty can be adjusted with tempo, pauses, resistance or single-leg progressions.
Teaches Glute and Pelvic Control
The supported floor position lets you practise squeezing your glutes while keeping your ribs, pelvis and knees controlled.
Requires Little Space and No Equipment
A basic bodyweight bridge needs only enough room to lie down. That makes it practical for home workouts, classrooms and group circuits.
Easy to Scale
Beginners can use a smaller range of motion. More experienced participants can add a pause, band, march, single-leg position or external load.
Fits Warm-Ups and Strength Sessions
Glute bridges can be used as a controlled warm-up drill or programmed for higher effort in a lower-body workout.
A glute bridge can be one useful part of a balanced exercise program, but it cannot by itself fix posture, treat back pain, prevent injury or guarantee athletic performance.
Reduced-Range Glute-Bridge Modification
If a full bridge is uncomfortable or difficult to control, use a reduced range of motion.
- Set up in the regular bridge position.
- Brace gently and press both feet into the floor.
- Squeeze your glutes and lift your hips only a few inches.
- Stop before your back arches or your hamstrings begin to cramp.
- Pause briefly, then lower with control.
You can begin with a glute squeeze while keeping your hips on the floor. Once that feels comfortable, add a small lift and gradually increase the range.
Modification cue:
A smaller bridge is still a complete repetition. Use the range you can control without pain, cramping or lower-back arching.
Glute-Bridge Variations and Progressions
Paused Glute Bridge
Hold the top position for two to five seconds while keeping your hips level. A pause increases time under tension without requiring equipment.
Tempo Glute Bridge
Lift for two seconds, pause for one or two seconds and lower for three seconds. Slowing the movement makes it harder to use momentum.
Banded Glute Bridge
Place a light loop band above your knees. Maintain gentle outward pressure so your knees stay aligned with your toes. The band adds resistance to the muscles that help stabilize the hips.
Glute-Bridge March
Hold the top of a two-leg bridge and slowly lift one foot a small distance from the floor. Replace it, then switch sides. Keep the pelvis level throughout the march.
Single-Leg Glute Bridge
Extend or lift one leg and bridge using the planted leg. This variation greatly increases the balance and strength demand, so master a level two-leg bridge first.
Feet-Elevated Glute Bridge
Place both feet on a stable step or bench. Check that the surface cannot slide and use a controlled range. Elevating the feet changes the leverage and may increase hamstring demand.
Weighted Glute Bridge
Place a padded dumbbell, weight plate or other suitable load across the front of your hips. Hold it securely and begin with a light weight. Added load should never replace control.
Common Glute-Bridge Mistakes
1. Lifting Too High
The problem: You chase extra height by flaring your ribs and arching your lower back.
The fix: Stop when your shoulders, hips and knees form a long line. Think “ribs down, glutes tight.”
2. Placing the Feet Too Far Away
The problem: Your hamstrings dominate or begin to cramp.
The fix: Move your feet slightly closer and keep the whole foot planted.
3. Placing the Feet Too Close
The problem: Your knees feel crowded and the movement shifts away from a comfortable hip extension.
The fix: Slide your feet forward until your shins are close to vertical at the top.
4. Letting the Knees Collapse or Flare
The problem: Your knees move inward or far outward as your hips rise.
The fix: Keep your knees in line with your toes and imagine your thighs moving on two parallel tracks.
5. Pushing Only Through the Toes
The problem: Your heels lift or your feet feel unstable.
The fix: Press the heel and both sides of the forefoot into the floor.
6. Bouncing Through Repetitions
The problem: Momentum replaces muscular control.
The fix: Pause at the top and lower slowly enough that each repetition has a clear beginning and end.
7. Holding Your Breath
The problem: You brace so hard that you stop breathing.
The fix: Exhale during the lift and breathe steadily throughout the set.
8. Turning Your Head
The problem: You look sideways while your body is loaded in the bridge.
The fix: Keep your head relaxed and eyes upward until your hips return to the floor.
How Many Glute Bridges Should You Do?
Your best set and rep range depends on your experience, goals and the rest of your workout.
- Learning the movement: 2 sets of 8 to 10 controlled reps
- General strength endurance: 2 to 3 sets of 10 to 15 reps
- Timed circuit: 20 to 40 seconds of steady repetitions
- Paused variation: 6 to 10 reps with a two- to five-second hold
Stop the set when you can no longer keep your feet planted, knees aligned and trunk controlled. More repetitions are not useful when the movement has shifted into the lower back.
How to Teach Glute Bridges in a Group
Glute bridges are easy to organize, but floor spacing and concise cues make the exercise safer and easier to follow.
- Give every participant enough room to lie down without touching another person.
- Use mats when the floor is hard or uncomfortable.
- Demonstrate from the side so participants can see the start and top positions.
- Explain that the goal is a long line—not maximum height.
- Cue “whole foot down” and “knees follow toes.”
- Show the reduced-range option before the set begins.
- Use a visible count or timer so participants can move at a controlled pace.
Coach it in four cues:
Feet flat. Knees forward. Squeeze the glutes. Stop before the back arches.
Glute Bridges in BoardGains
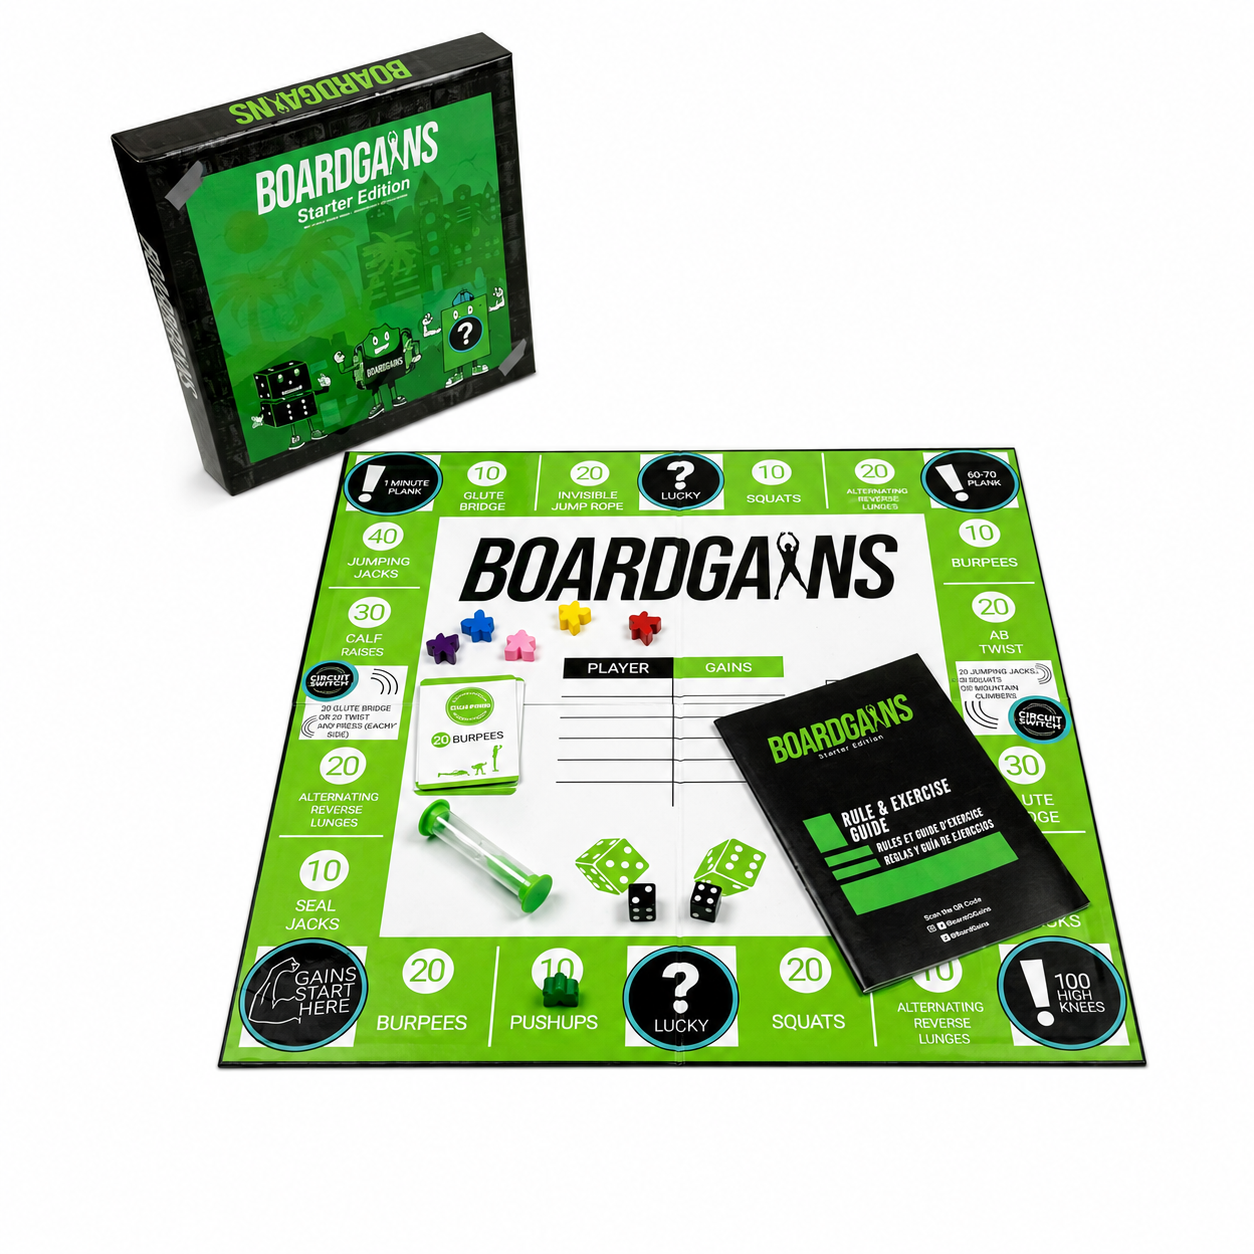
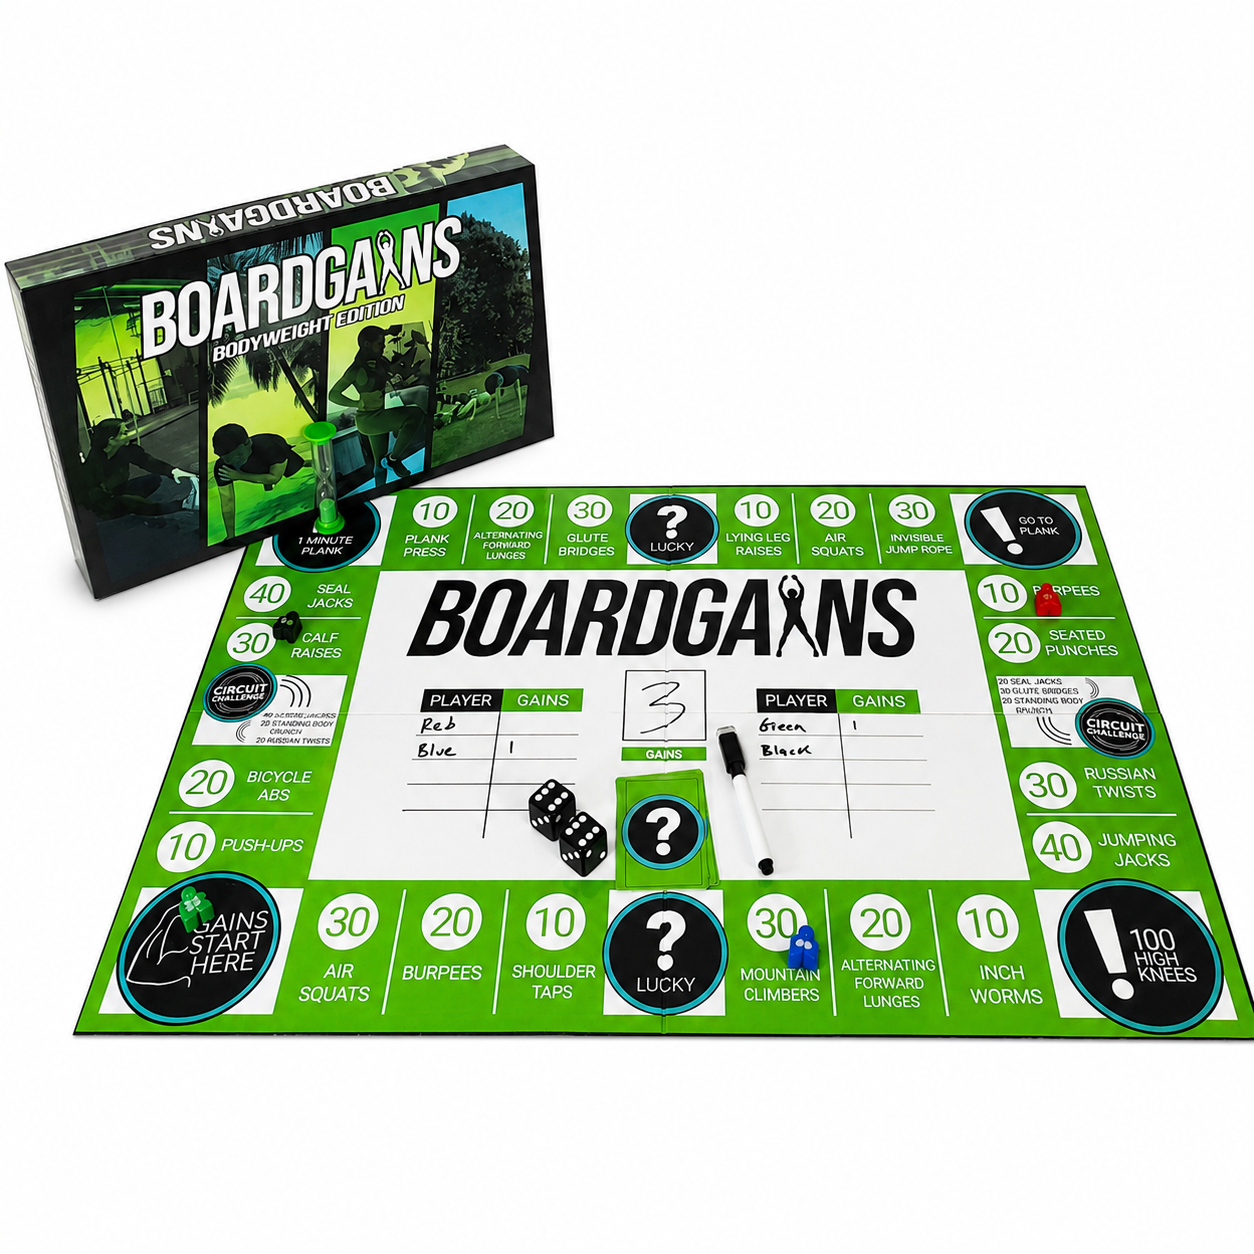
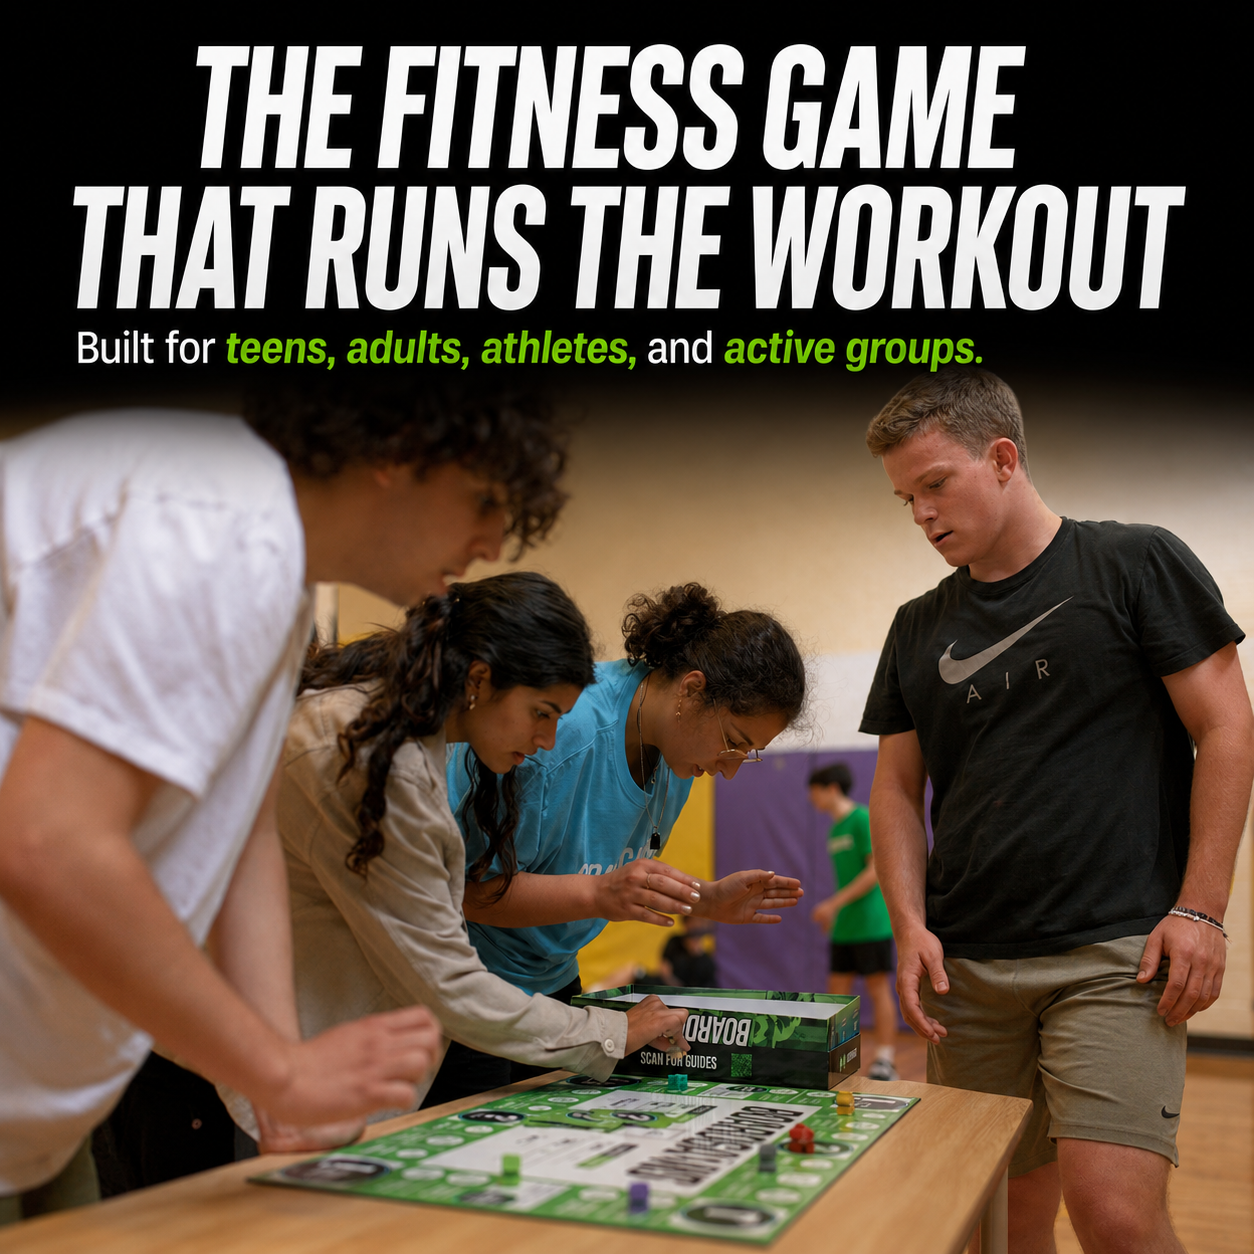
The glute bridge is one of the 20 bodyweight exercises included in the BoardGains Pro game. When a player lands on the exercise, the board provides the rep target and turns a simple strength drill into part of a social challenge.
Before the game starts, demonstrate one full repetition and the reduced-range modification. Encourage each player to use a controlled range rather than racing or copying another person’s hip height.
For group sessions, position players so everyone has floor space and can see the coach. The exercise can be paired with standing movements to create an easy transition between lower- and higher-intensity stations.
Turn Your Workout Into a Game
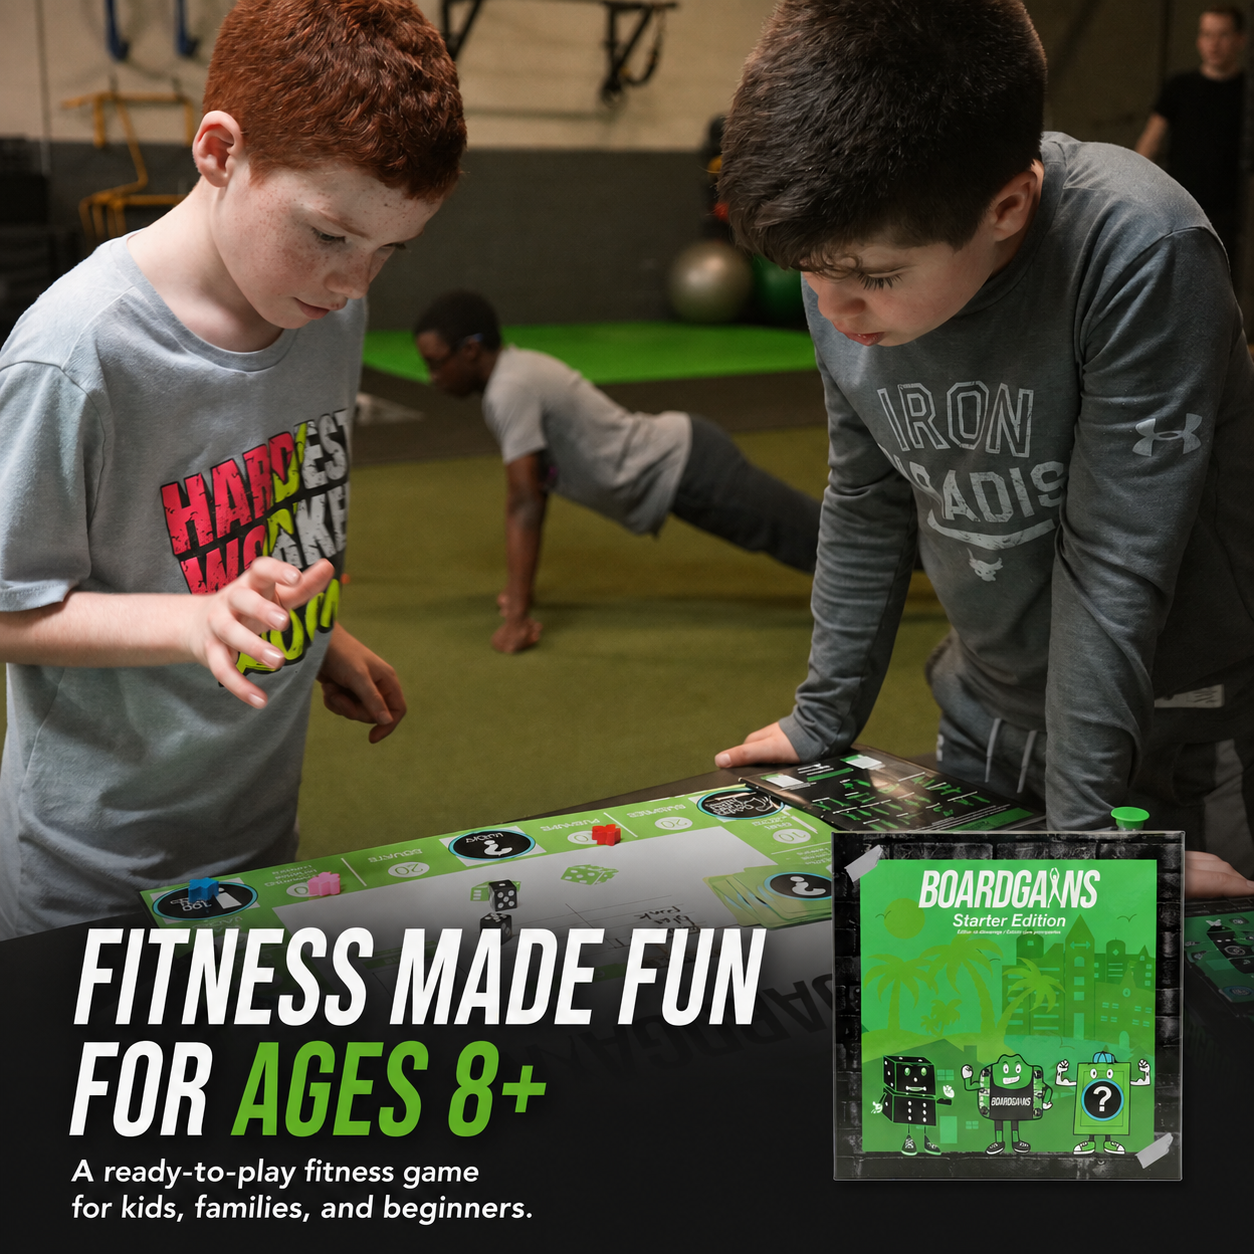
BoardGains combines bodyweight exercises, teamwork and friendly competition for trainers, PE teachers, families and fitness groups.
Glute-Bridge FAQs
Where should my feet be during a glute bridge?
Place your feet flat and about hip-width apart. Start with your heels roughly a hand-length or 6 to 8 inches from your glutes, then adjust so your shins are close to vertical at the top.
How high should I lift my hips?
Lift until your shoulders, hips and knees form a long line. Stop sooner if going higher causes your ribs to flare or your lower back to arch.
Why do my hamstrings cramp?
Your feet may be too far from your glutes, or your hamstrings may be doing more work than they can comfortably handle. Move your feet slightly closer, reduce the range and focus on squeezing your glutes. Stop and reset if cramping continues.
Why do I feel glute bridges in my lower back?
You may be lifting too high or losing control of your ribs and pelvis. Lower your hips, brace gently and use a smaller range. Stop if you feel pain rather than normal muscular effort, and seek guidance from a qualified health professional when needed.
Should I push through my heels?
Pressing through the heels can be a useful cue, but keep your whole foot planted. Maintain contact through the heel, the ball of the big toe and the ball of the little toe.
What counts as one glute-bridge repetition?
One lift from the floor to your highest controlled position followed by a controlled return to the floor equals one repetition.
What is the difference between a glute bridge and a hip thrust?
Both are hip-extension exercises. In a glute bridge, your shoulders and back stay on the floor. In a hip thrust, the upper back is usually supported on a bench. Depending on the setup, a hip thrust may allow a different range of motion and more external load, but neither exercise is automatically better for everyone.
Can glute bridges help with back pain?
Glute bridges may be included in some exercise or rehabilitation plans, but a general exercise guide cannot diagnose or treat back pain. If the movement causes pain, stop and consult a qualified health professional.
Can I do glute bridges every day?
Some people tolerate light bridge practice often, but harder sets need recovery like other strength exercises. Adjust the frequency to your total training load, effort and soreness.
When should I add weight?
Add resistance only after you can complete bodyweight repetitions with stable feet, aligned knees, a level pelvis and no lower-back arching. Begin light and secure the load across the hips.
What if glute bridges hurt my knees?
Check that your feet are not too close and that your knees track with your toes. Try a smaller range. Stop if pain continues and seek individual guidance rather than pushing through it.
Do glute bridges reduce cellulite?
Glute bridges train muscles around the hips, but no single exercise can selectively remove cellulite or body fat from one area.
Final Form Checklist
- Feet flat and about hip-width apart
- Heels roughly a hand-length from the glutes
- Ribs and pelvis controlled
- Knees tracking in line with the toes
- Hips lifted by squeezing the glutes
- Top position forms a long line without back arching
- Brief pause followed by a controlled lower
- One complete lift and return counted as one rep
Good glute-bridge form is controlled, not exaggerated. Set your feet, brace gently, squeeze your glutes and stop at the highest position your hips can reach without borrowing movement from your lower back.



Leave a comment
This site is protected by hCaptcha and the hCaptcha Privacy Policy and Terms of Service apply.