
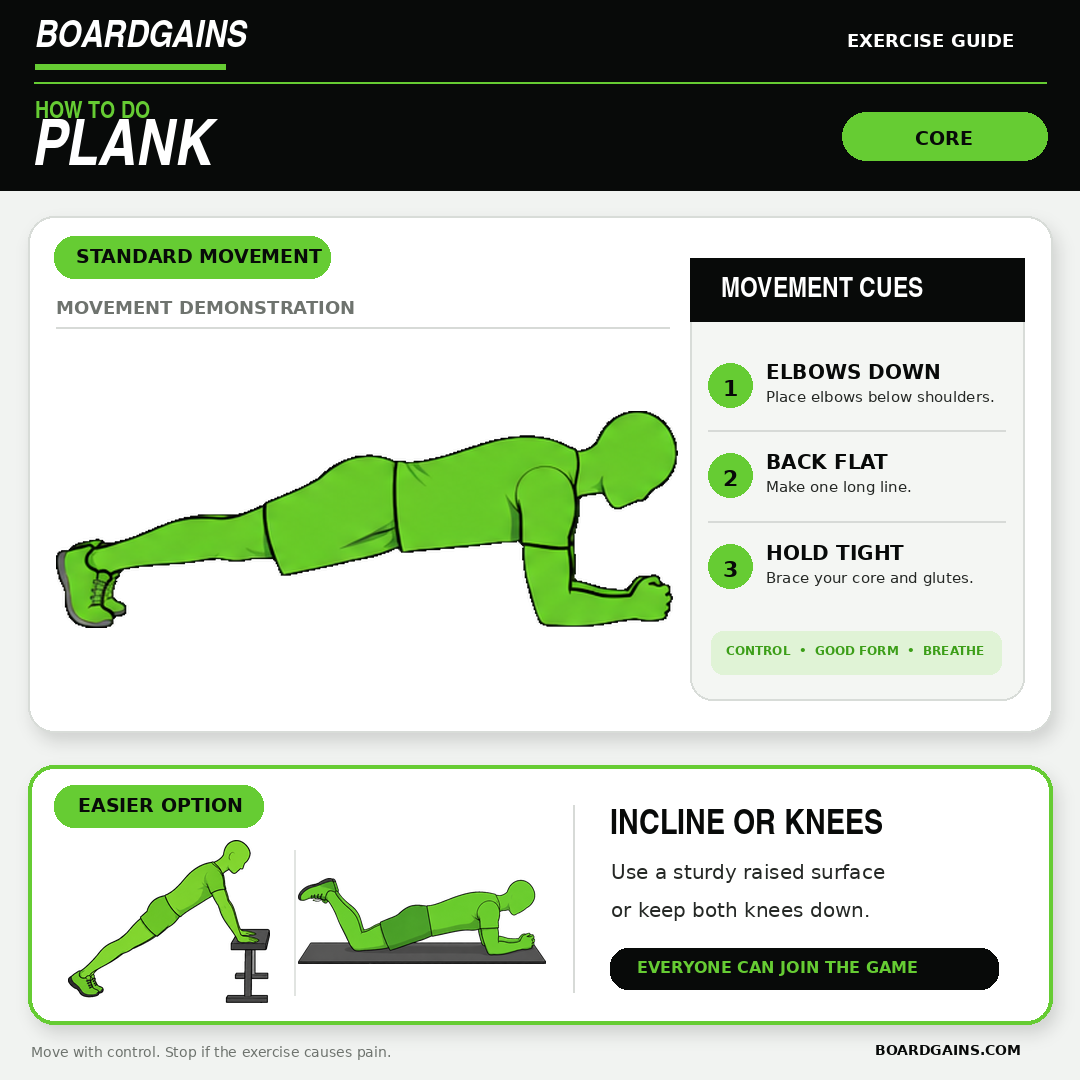
The plank is a bodyweight core exercise performed by holding your body in a strong, steady position. Your abdominal muscles, shoulders, glutes and legs work together to stop your hips and lower back from dropping.
In BoardGains, the standard plank is performed on the forearms. Straight-arm, knee and incline planks can also be used. The goal is not to survive the longest possible hold. It is to create full-body tension, keep breathing and stop before your form begins to change.
Written by Eric Mathura, B.Sc. Kinesiology and CSEP-CPT, with more than 10 years of experience as a personal trainer and group fitness instructor. Updated August 19, 2026.
Quick answer: Place your elbows under your shoulders and step your feet back. Press your forearms into the floor, brace your stomach and lightly squeeze your glutes and legs. Keep your head, shoulders, hips and heels in one controlled line while breathing normally. End the hold when your hips sag, your back arches or you cannot correct your position.
Plank Overview
- Exercise: Forearm plank
- Level: Beginner to advanced
- Equipment: None; an exercise mat is optional
- Main muscles: Abdominals and deeper core muscles
- Supporting muscles: Shoulders, upper back, glutes and quadriceps
- Movement type: Isometric core exercise
- BoardGains count: Hold for the required amount of time
What Is a Plank?
A plank is an isometric exercise. This means your muscles create tension while your joints remain mostly still. During a forearm plank, your elbows, forearms and toes stay on the floor while you hold your trunk and hips in a controlled position.
The core works to resist extra movement through your spine and pelvis. Your shoulders help support your upper body, while your glutes and legs create tension through your lower body. This makes the plank a full-body exercise even though it is most often placed in the core section of a workout.
A plank should feel active. You are not simply resting between your forearms and toes. Pressing into the floor, bracing your trunk and tightening your lower body help turn the position into a strong hold.
How to Do a Forearm Plank Properly
- Begin on your hands and knees. Use a mat if your elbows need more padding.
- Lower to your forearms. Place your elbows close to directly under your shoulders.
- Choose a hand position. Keep your forearms parallel with your palms down, turn your palms toward each other or lightly bring your hands together.
- Step your feet back. Extend one leg and then the other. Place your feet about hip-width apart for a stable base.
- Set your body line. Aim for a long, controlled line from the back of your head through your shoulders, hips and heels.
- Brace your core. Tighten your stomach as if preparing for a gentle push. Keep your ribs controlled rather than letting them flare forward.
- Activate your lower body. Lightly squeeze your glutes, tighten your quadriceps and press your toes into the floor.
- Keep your shoulders active. Press your forearms down and slightly away so your chest does not collapse toward the floor.
- Set your neck. Look at the floor and keep the back of your neck long.
- Hold and breathe. Take steady breaths without losing your brace. Lower your knees when your form begins to change.
BoardGains counting tip: A plank is counted by time, not repetitions. Set the required time, build your position and begin the timer when the hold starts. Use a knee or incline plank if needed.
Your body does not have to form a perfectly straight geometric line. People have different body shapes and joint positions. The main goal is to avoid excessive sagging, arching or lifting through the hips.
Plank Form Checklist
Elbows Under the Shoulders
Position your elbows close to directly under your shoulders. Reaching them far forward makes the exercise harder and can increase the demand on your shoulders. A small adjustment may be needed based on your arm length and comfort.
Comfortable Forearm and Hand Position
Your palms can face down, your hands can face each other or they can lightly meet. Use the position that feels natural while keeping your elbows stable. Avoid pulling hard against clasped hands or letting your elbows slide wide.
Active Shoulders
Press your forearms into the floor and keep your upper back active. Do not let your chest hang between your shoulders. At the same time, avoid shrugging your shoulders tightly toward your ears.
Neutral Head and Neck
Look down at the floor. Lifting your head to look forward or dropping your chin toward your chest can make the neck uncomfortable. Think about keeping the back of your head in line with your upper back.
Braced Core
Tighten your stomach while continuing to breathe. The brace should help control the position of your ribs and pelvis. It does not need to be so strong that you cannot take a steady breath.
Controlled Hip Position
Keep your hips between the very high and very low positions. If the hips sag, the lower back may arch. If the hips lift too far, the position becomes more like an upside-down V and reduces the challenge to the front of the core.
Active Glutes and Legs
Lightly squeeze your glutes and tighten your quadriceps. Push your heels back while pressing your toes into the floor. This spreads the work through your whole body instead of leaving your stomach and shoulders to do everything.
Steady Breathing
Take controlled breaths throughout the hold. Try a slow inhale through your nose and a longer exhale through your mouth. Your stomach can stay braced while your ribs expand and settle with each breath.
Useful coaching cues: “Elbows under shoulders.” “Press the floor away.” “Brace your core.” “Squeeze your glutes.” “Tighten your legs.” “Look down.” “Keep breathing.” “Stop before your form drops.”
Forearm Plank vs. Straight-Arm Plank
Both versions challenge your core, but the support position changes.
Forearm Plank
- Supported by the elbows and forearms
- Places less extension through the wrists
- Brings the body closer to the floor
- Used as the standard BoardGains plank
Straight-Arm Plank
- Supported by the hands and toes
- Looks like the top of a push-up
- Requires the wrists to support more body weight
- Creates the starting position for shoulder taps and mountain climbers
Neither version is automatically better. Choose the one that fits the workout and feels comfortable at your wrists, elbows and shoulders. You can also perform either version from the knees or with your upper body raised.
What Muscles Do Planks Work?
- Rectus abdominis: The muscle along the front of the stomach helps control the relationship between the ribs and pelvis.
- Transverse abdominis: This deeper abdominal muscle helps brace and stabilize the trunk.
- Internal and external obliques: The side abdominal muscles help resist rotation and side-to-side movement.
- Shoulder muscles: The shoulders support the upper body and help keep the chest from collapsing.
- Upper-back muscles: These muscles help control the shoulder blades and keep the upper body stable.
- Glutes: The glute muscles help control the position of the hips and pelvis.
- Quadriceps: The front thigh muscles keep the knees extended and add tension through the legs.
How hard each muscle works changes with the variation, hold length and amount of tension you create. A strong 20-second plank can be more challenging than a relaxed hold that lasts much longer.
Benefits of the Plank Exercise
Develop Core Endurance
The plank challenges your abdominal and trunk muscles to maintain a stable position for time. This is different from exercises that repeatedly bend the spine.
Teach Full-Body Bracing
Your stomach, shoulders, glutes and legs must work together. Learning to create this tension can help you understand the body position used in push-ups, mountain climbers and other exercises.
Require No Equipment
You only need enough floor space to extend your body. An exercise mat may make the forearm position more comfortable, but it is not required.
Scale Across Fitness Levels
You can shorten the hold, place your knees down or raise your upper body on a stable surface. When you are ready for more challenge, you can add controlled arm or leg movement.
Fit Easily Into Group Workouts
Everyone can perform a plank at the same time without waiting for equipment. Participants can use different versions while following the same timer.
Build Body Awareness
A plank gives clear feedback. You can often feel when the hips begin to sag, the shoulders collapse or the breath becomes held. Learning to notice and correct these changes is a useful movement skill.
How Long Should You Hold a Plank?
There is no universal time that every person must reach. The best hold ends before your position breaks down.
- New beginner: 5 to 10 seconds
- Beginner: 10 to 20 seconds
- General fitness: 20 to 45 seconds
- Experienced: 30 to 60 seconds with strong form
- BoardGains: Hold for the time required by the game using the right option for your level
Short holds can be repeated. For example, hold for 15 seconds, rest for 20 to 30 seconds and complete two or three total sets. End the hold when your hips sag, your back arches, your shoulders collapse or you cannot keep breathing normally.
Is a Longer Plank Always Better?
No. Once you can comfortably hold a plank for 30 to 60 seconds, you do not need to keep chasing longer times. You can create more full-body tension, narrow your foot position, use a harder variation or perform several shorter, stronger holds.
A controlled 20-second plank is more useful than a 60-second hold completed with a dropping lower back. Quality gives the time meaning.
Plank Modifications for Beginners
1. Forearm Plank From the Knees
Place your elbows under your shoulders and keep your knees on the floor. Move your knees back until your head, shoulders, hips and knees form one controlled line. Brace your core, squeeze your glutes and hold while breathing. Avoid bending only at the hips.
2. Straight-Arm Plank From the Knees
Place your hands under your shoulders with your knees on the floor. Move the knees back, brace your core and press the floor away. Keep a long line from your head to your knees.
3. Incline Plank
Place your forearms or hands on a stable wall, countertop, box or bench. Walk your feet back until your body forms a straight diagonal line. A higher surface usually makes the exercise easier. Make sure the surface cannot slide or tip.
4. Short Plank Holds
Hold for 5 to 10 seconds, lower your knees and rest. Repeat for several rounds. Short holds let beginners practise a strong setup without waiting for the position to fail.
5. Wider-Foot Plank
Place your feet a little wider than hip-width to create a larger base. This can make it easier to prevent rotation and side-to-side movement. Bring the feet closer as your control improves.
Progression tip: Build control before adding time. When you can repeat several short holds without changing position, add five seconds or choose a slightly harder setup.
Plank Variations
- Straight-arm plank: Hold the top of a push-up position with your hands under your shoulders.
- Side plank: Turn onto one side, support yourself on one forearm and lift your hips. Keep the bottom knee down for an easier option.
- Plank with leg lift: Slowly lift one foot a few inches while keeping your hips facing the floor, then switch legs.
- Plank shoulder taps: From a straight-arm plank, lift one hand and tap the opposite shoulder. Keep your hips as steady as possible.
- Plank press: Move from your forearms to your hands, then return to your forearms. This adds upper-body movement to the hold.
- Plank knee drive: From a straight-arm plank, bring one knee toward your chest, return it and switch sides.
- Plank jack: From a straight-arm plank, jump your feet apart and together while controlling the upper body. Use step-outs for less impact.
Add movement only after you can hold the starting plank without sagging, twisting or holding your breath. A harder variation is not useful when the base position disappears.
Common Plank Mistakes and How to Fix Them
Mistake 1: Hips Drop Toward the Floor
What it looks like: The pelvis sinks and the lower back begins to arch.
Try this: Squeeze your glutes, tighten your stomach and shorten the hold. Place your knees down or use an incline if you cannot correct the position.
Mistake 2: Hips Lift Too High
What it looks like: The body forms an upside-down V.
Try this: Lower your hips slightly while keeping your stomach braced. Ask a coach to view your position from the side if needed.
Mistake 3: Excessive Lower-Back Arch
What it looks like: The ribs and pelvis move apart while the stomach drops.
Try this: Gently bring your ribs toward your pelvis, squeeze your glutes and use a shorter or easier hold.
Mistake 4: Elbows Too Far Forward
What it looks like: The elbows reach well in front of the shoulders, making the hold much harder.
Try this: Reset with your elbows close to directly under your shoulders.
Mistake 5: Collapsing Through the Shoulders
What it looks like: The chest sinks toward the floor and the upper back loses tension.
Try this: Press your forearms down and away. Keep your upper back active without shrugging.
Mistake 6: Looking Forward
What it looks like: The head lifts and the neck arches.
Try this: Look down and imagine making the back of your neck long.
Mistake 7: Holding Your Breath
What it looks like: The face and neck tense while the hold becomes a strain.
Try this: Use steady breaths and lower your knees if you cannot breathe while maintaining the position.
Mistake 8: Relaxing the Legs
What it looks like: The knees soften and the hips feel unstable.
Try this: Tighten your quadriceps, press your toes down and lightly squeeze your glutes.
Mistake 9: Holding After Form Is Lost
What it looks like: The timer continues even though the position can no longer be corrected.
Try this: Finish the set, rest and repeat a shorter hold. The timer should measure quality time.
How to Teach Planks in PE or Group Fitness
- Give every participant enough floor space and use mats when available.
- Demonstrate the plank from the side so the group can see the elbow, shoulder and hip positions.
- Show the knee and incline modifications before the work interval begins.
- Start with a short practice hold of 5 to 10 seconds.
- Use one or two cues at a time, such as “press the floor away” and “keep breathing.”
- Watch for dropping hips, raised hips and collapsing shoulders.
- Let participants end the hold when their position changes.
- Use ability-based options instead of requiring everyone to hold the same version.
Repeated short rounds often work better than one long contest. For example, use three 15-second holds with rest between rounds. This lets more participants practise strong form and makes it easier for the coach to provide feedback.
Simple Core Circuit
- 20-second forearm plank
- 10 glute bridges
- 10 shoulder taps per side
- 10 bicycle crunches per side
- Rest for 45 to 90 seconds and repeat for 2 or 3 rounds
Change the hold times and repetitions to match the group. Participants can use a knee or incline plank during the same interval.
Planks in BoardGains
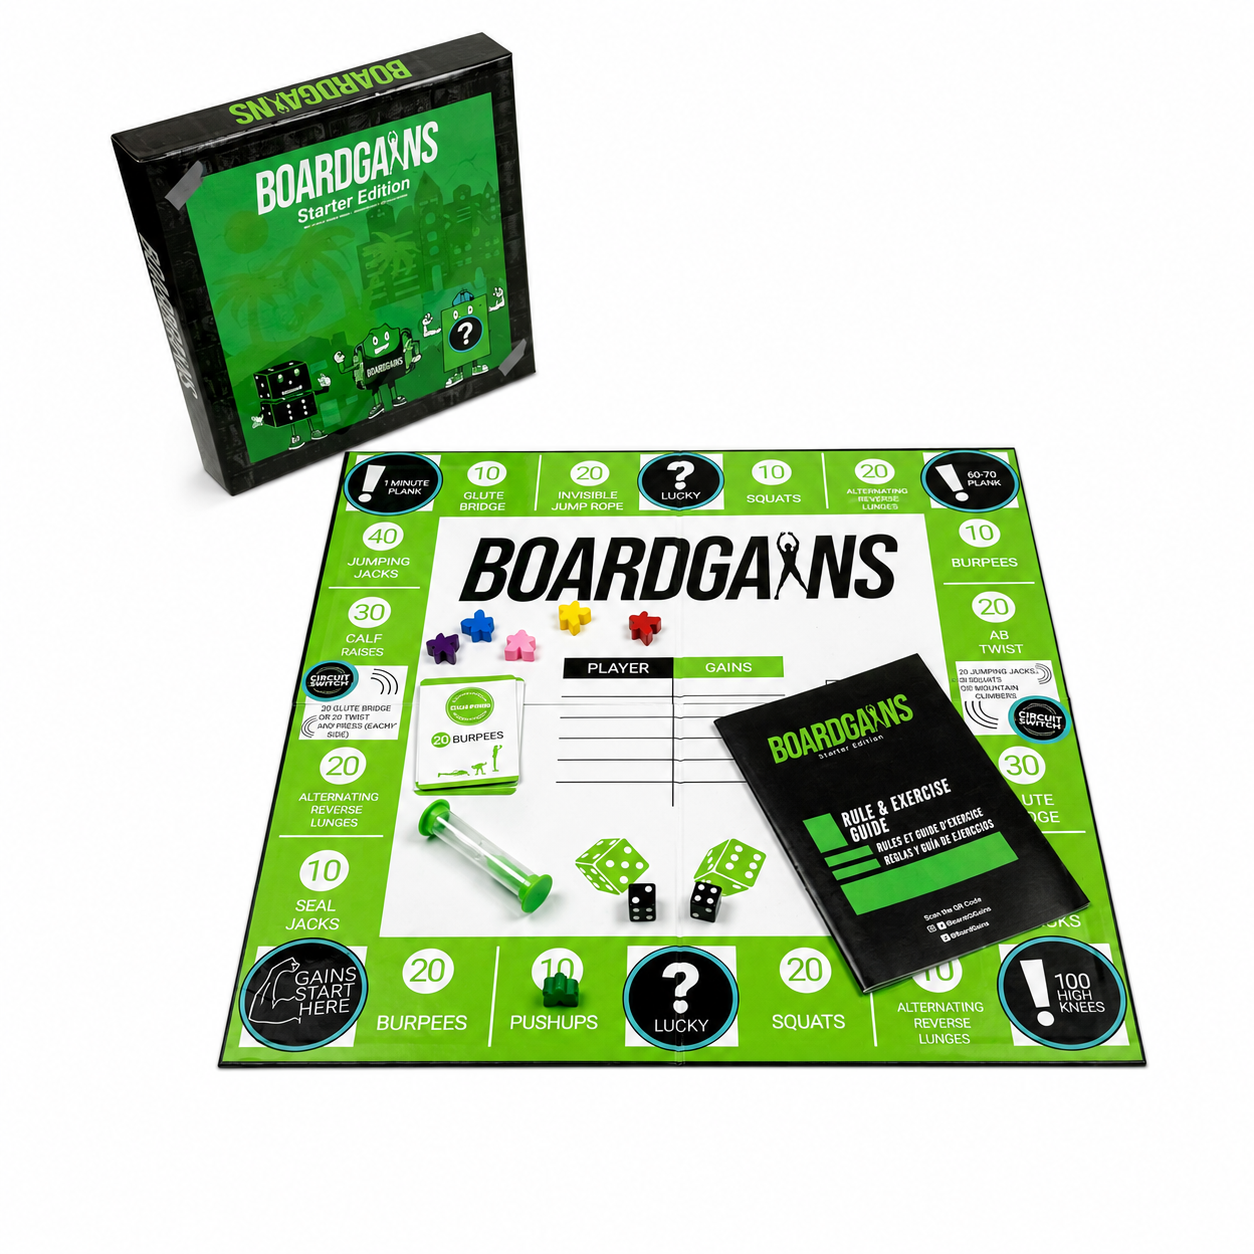
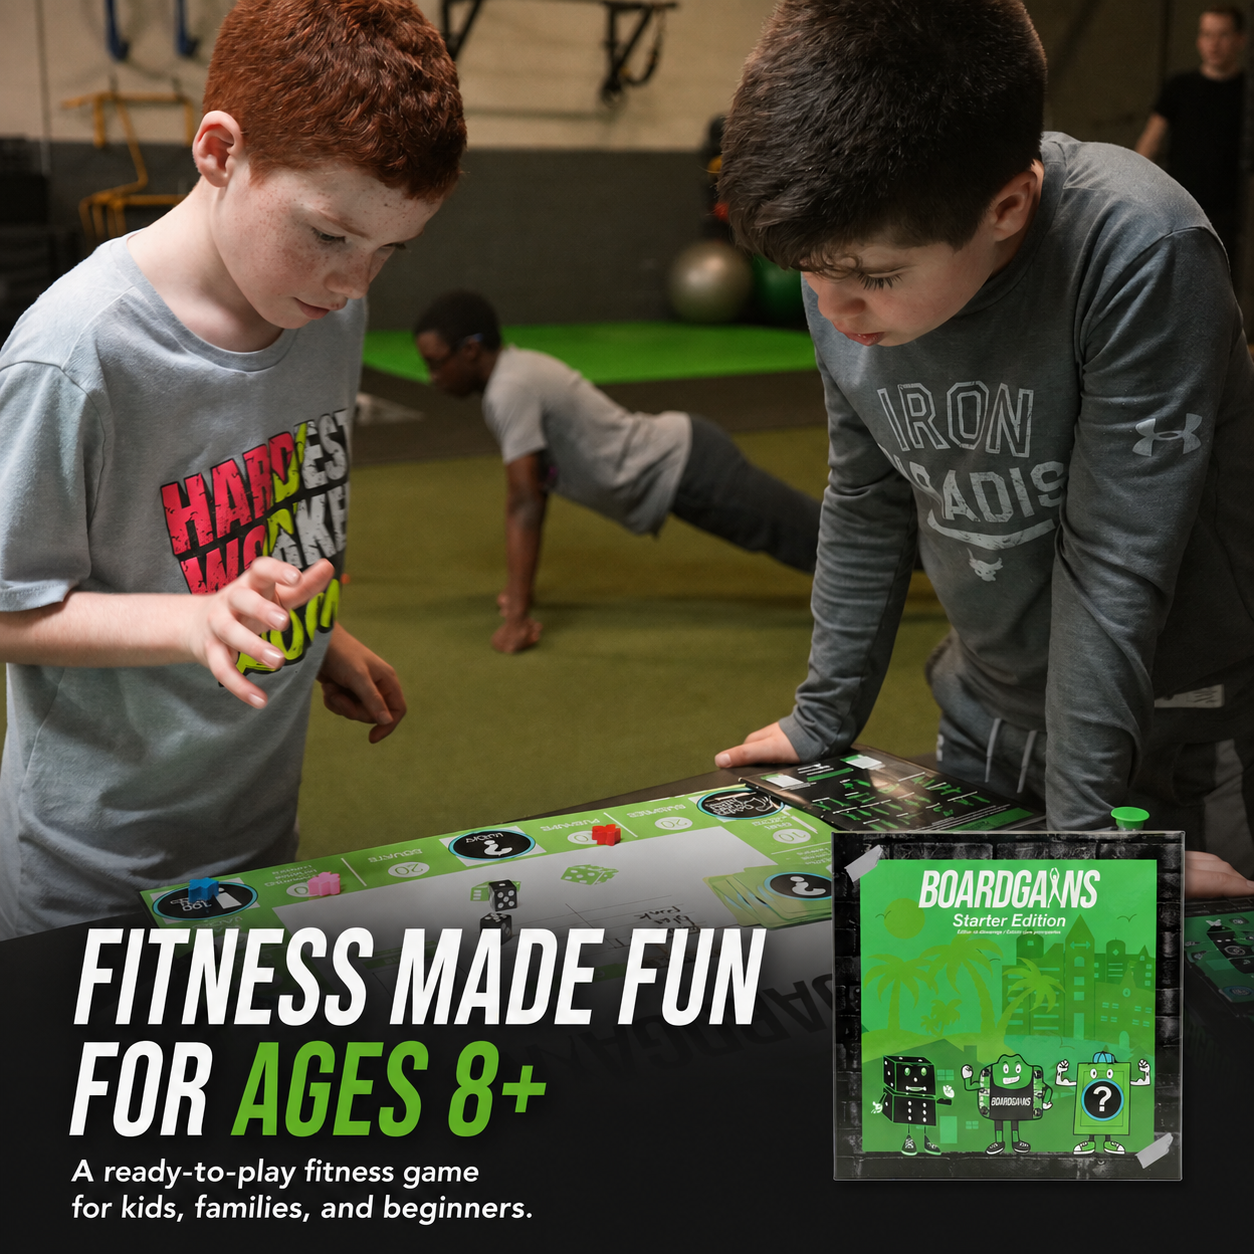
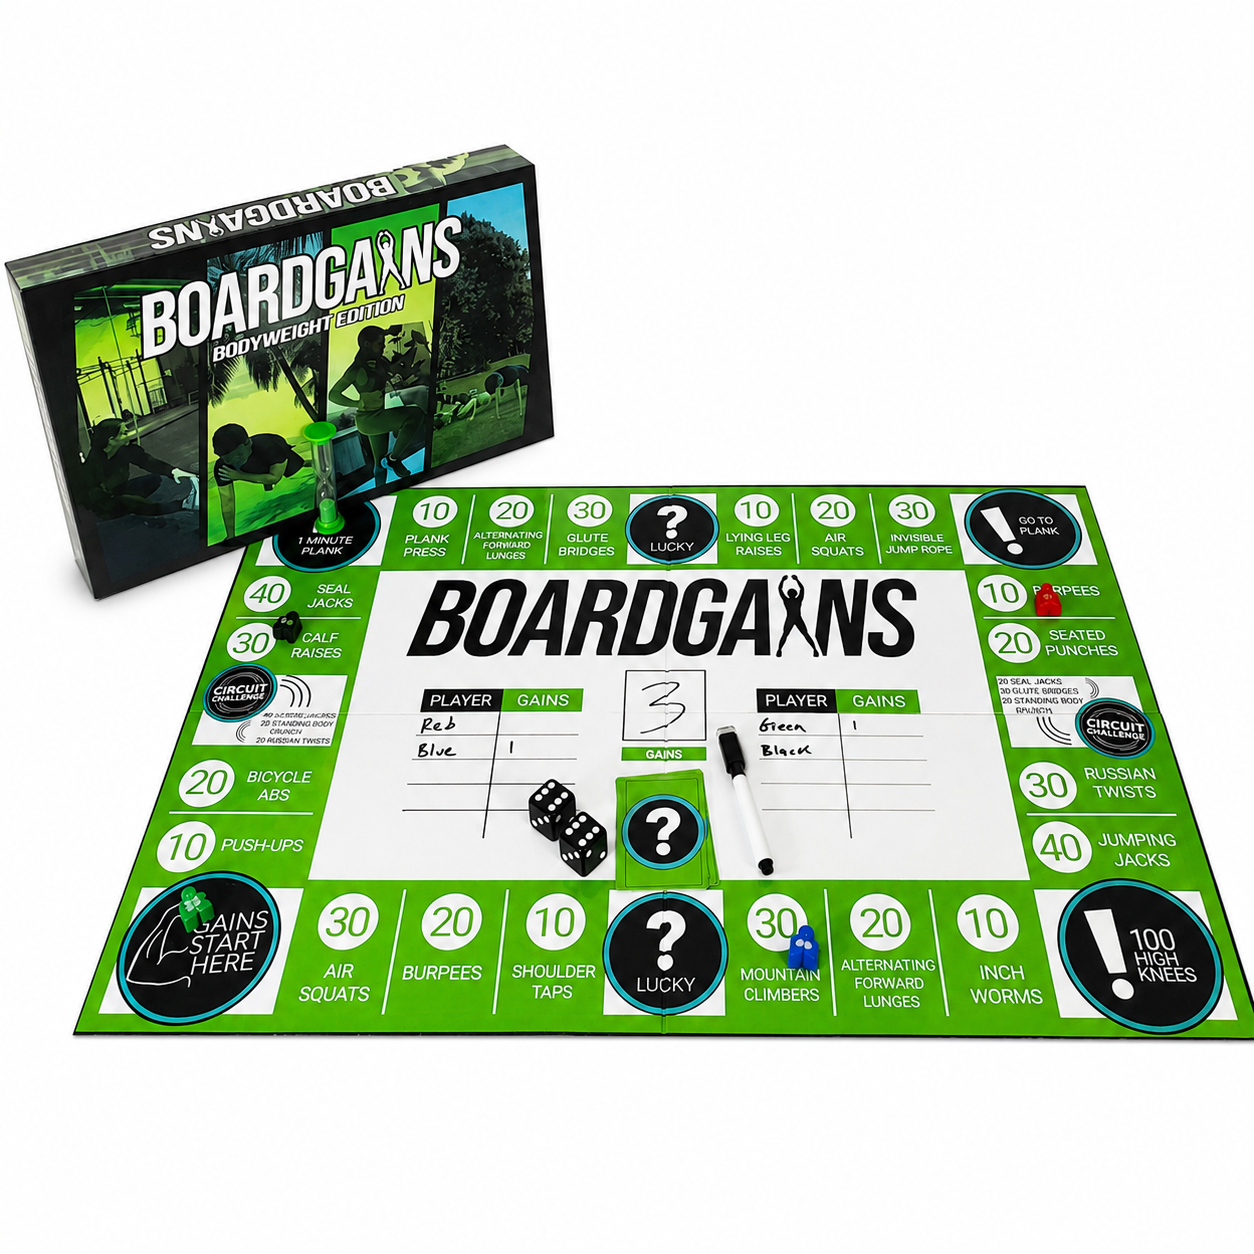
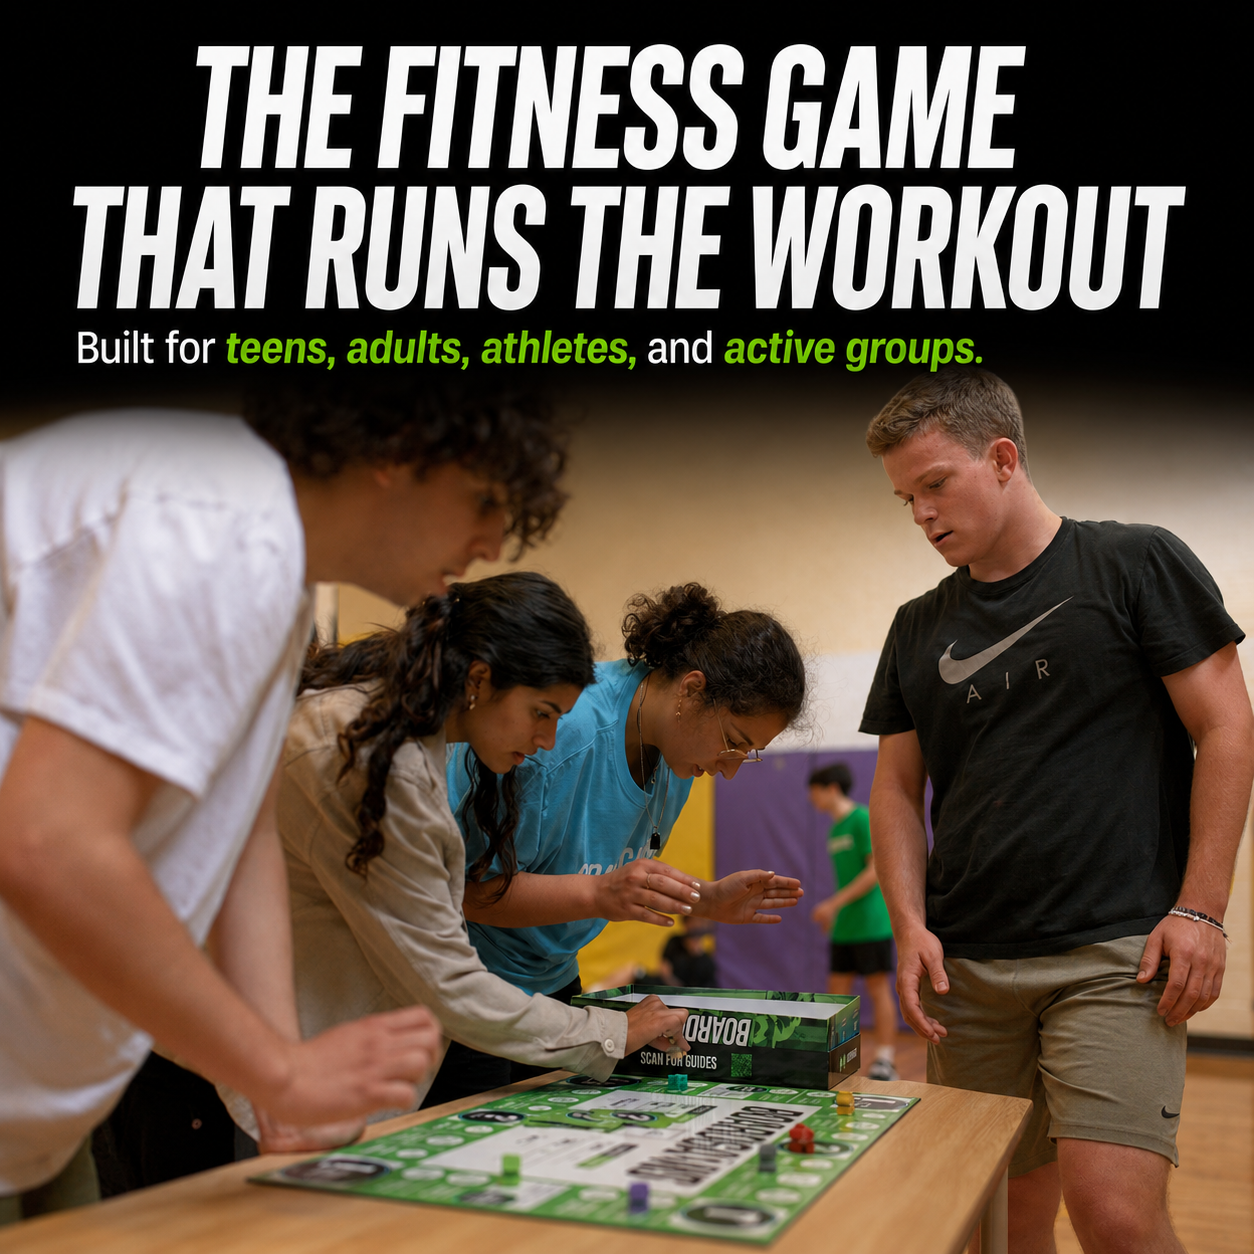
The plank is one of the no-equipment exercises included in the BoardGains fitness board game. Players roll the dice, move their game piece and complete the exercise they land on. Everyone plays and exercises at the same time, helping teachers, trainers and coaches keep the group active.
In BoardGains, the forearm plank is the standard version. When a player lands on the plank space, they hold for the required time. A knee plank or incline plank can be used so participants of different levels can stay in the game.
Before play begins, show the elbow-under-shoulder setup and explain the stop rule: finish the hold when the position can no longer be corrected. This keeps the focus on movement quality instead of turning every plank into a longest-hold competition.
Turn Core Training Into a Game
Bring movement, teamwork and friendly competition to your PE class, bootcamp, team practice or family workout with BoardGains.
Plank FAQs
What muscles do planks work?
Planks mainly challenge the abdominal and deeper core muscles. Your shoulders, upper back, glutes and quadriceps also work to support and stabilize the position.
Are forearm planks or straight-arm planks better?
Neither is always better. Forearm planks reduce wrist extension, while straight-arm planks create the position used for shoulder taps and mountain climbers. Choose the version that fits your comfort and workout.
How long should a beginner hold a plank?
A beginner can start with 5 to 20 seconds. End the hold when the body position changes, rest and repeat. Knee or incline planks can make those seconds easier to control.
Should my hips be high or low?
Your hips should remain between the raised and dropped positions. Aim for a long line through your shoulders, hips and heels without forcing your body into a perfect shape.
Why does my lower back hurt during planks?
Discomfort may occur if your hips drop, the hold lasts too long or the variation is too difficult. Stop the exercise and try a knee or incline plank. Speak with a qualified healthcare professional if pain continues, worsens or feels sharp.
Why do I shake during a plank?
Some shaking can happen as your muscles work to maintain the position. Finish the set if the shaking causes you to lose control, hold your breath or feel pain.
Can planks reduce belly fat?
Planks can strengthen and challenge your core, but they cannot remove fat from one area. Changes in body fat depend on overall nutrition, activity, sleep and other factors.
Do planks burn many calories?
A plank is mainly a strength and muscular-endurance exercise. It should not be treated as a major calorie-burning movement. Its main value is the controlled core and full-body tension it develops.
Can I perform planks every day?
Short, controlled planks may fit into frequent movement practice. Harder variations, high tension or longer holds may require more recovery. Adjust the schedule based on difficulty, total training and how your body responds.
Are planks good for back pain?
Planks may help some people develop trunk strength, but they are not a treatment for every type of back pain. If you have current pain or an injury, ask a qualified healthcare professional which exercises are appropriate.
Is a two-minute plank good?
A two-minute plank shows endurance only if the position remains controlled. Most people do not need extremely long holds. Shorter, stronger holds or a more challenging variation may be more useful.
How can I make a plank harder?
First create more full-body tension. You can then narrow your feet, add a controlled leg lift, try shoulder taps or choose a side plank. Progress one part at a time and keep your hips steady.
Final Plank Form Checklist
- Elbows close to directly under your shoulders
- Forearms pressing firmly into the floor
- Chest supported instead of collapsing
- Head and neck in line with your spine
- Core braced with ribs and pelvis controlled
- Hips between the high and low positions
- Glutes and quadriceps active
- Feet set wide enough for control
- Steady breathing throughout the hold
- Set ends before your form breaks down
Build tension before building time. Set your elbows, press the floor away, brace your core and tighten your glutes and legs. A short plank performed well beats a long hold with lost form.



Leave a comment
This site is protected by hCaptcha and the hCaptcha Privacy Policy and Terms of Service apply.