
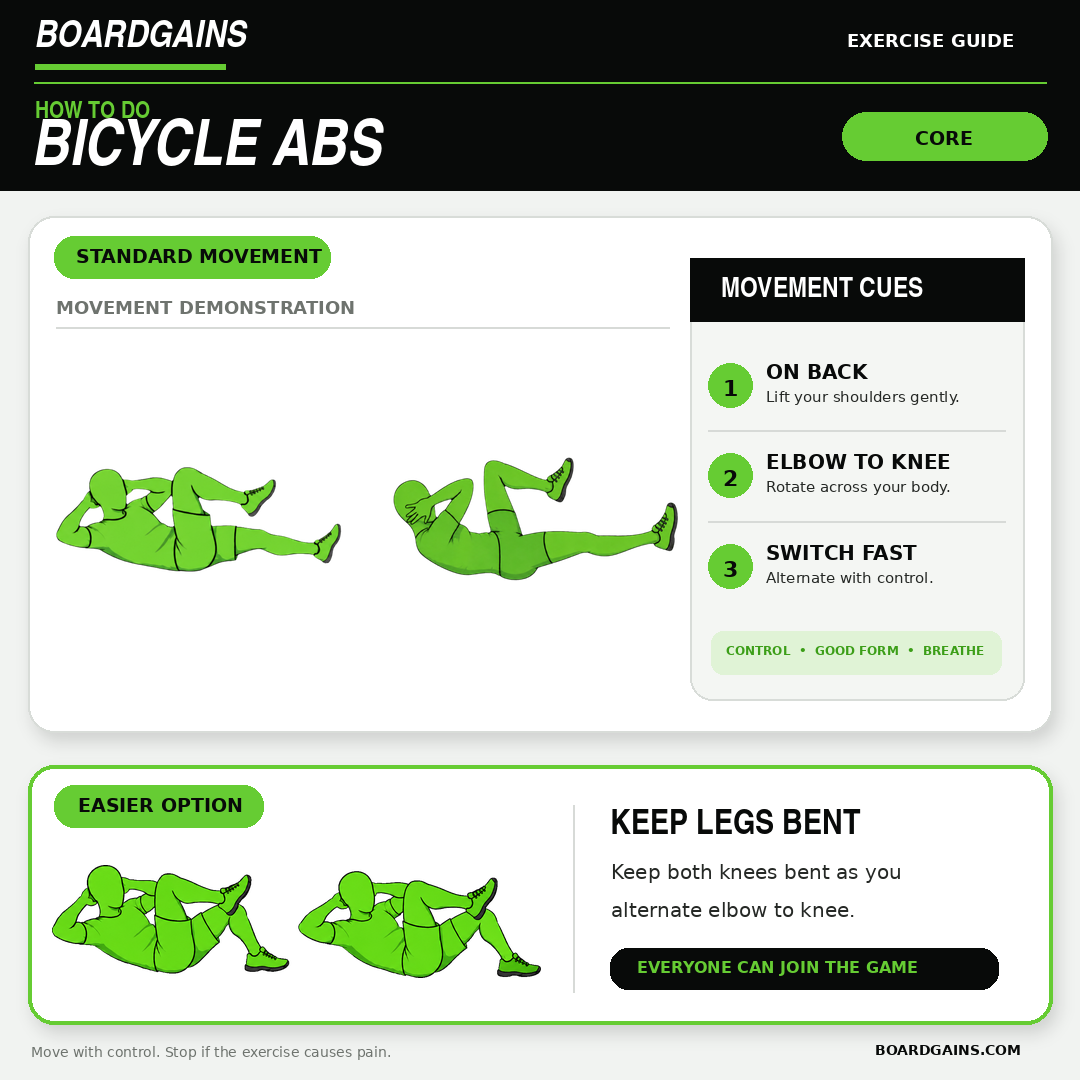
Bicycle Abs, commonly called bicycle crunches, are a bodyweight core exercise that combines alternating leg extensions with upper-body rotation. The movement trains your abdominal muscles, obliques and hip flexors without equipment.
The exercise should be slow enough to control your neck, lower back and torso. Moving faster does not automatically make the exercise better. A strong rep shows a controlled leg extension and a real turn through the rib cage.
Written by Eric Mathura, B.Sc. Kinesiology and CSEP-CPT, with more than 10 years of experience as a personal trainer and group fitness instructor. Updated August 19, 2026.
Quick answer: Lie on your back with your knees bent in a tabletop position. Place your fingertips lightly near your ears. Lift your shoulder blades, bring one knee in and extend the other leg. Rotate your opposite shoulder and rib cage toward the bent knee. Return through the centre and switch sides. Keep your hands light and extend the leg only as low as your lower back can control.
Bicycle Abs Overview
- Common name: Bicycle crunches or bicycle manoeuvre
- BoardGains name: Bicycle Abs
- Level: Beginner to intermediate
- Equipment: None; an exercise mat is optional
- Main muscles: Rectus abdominis and obliques
- Supporting muscles: Hip flexors, quadriceps and deeper core muscles
- BoardGains count: Each completed side equals one rep
What Are Bicycle Abs?
Bicycle Abs are performed while lying on your back. You bring one knee toward your chest while extending the other leg. At the same time, you rotate your upper body toward the bent knee. You then switch sides in a controlled pedalling pattern.
The exercise is commonly called a bicycle crunch because the alternating leg movement looks similar to pedalling a bicycle. “Bicycle Abs” is the exercise name used in BoardGains.
This is not only a leg exercise and it is not only an elbow movement. Your abdominals lift the upper body, your obliques rotate the rib cage and your hip muscles control the alternating legs.
How to Do Bicycle Abs With Proper Form
- Lie down. Use an exercise mat or another comfortable floor surface.
- Set your hands. Place your fingertips lightly behind your head or near your ears. Keep your elbows comfortably open.
- Lift your legs. Bend your hips and knees to about 90 degrees so your legs begin in a tabletop position.
- Brace your core. Gently support your lower back against the floor without forcing it down.
- Lift your upper body. Use your abdominal muscles to raise your head and shoulder blades slightly.
- Begin the first side. Bring your right knee toward your chest while extending your left leg away.
- Rotate your torso. Turn your left shoulder and rib cage toward your right knee.
- Return through the centre. Bring both knees toward tabletop while keeping the movement controlled.
- Switch sides. Bring your left knee in, extend your right leg and rotate your right shoulder toward the left knee.
- Continue alternating. Move at a pace that lets you control your neck, torso, pelvis and legs.
Your elbow does not need to touch your knee. Think “shoulder toward opposite knee” rather than forcing elbow-to-knee contact.
Key Bicycle Crunch Form Cues
Keep Your Hands Light
Your hands support the weight of your head; they should not pull your head forward. Avoid locking your fingers and tugging on your neck. If your arms take over, place your fingertips near your temples or cross your arms over your chest.
Rotate Your Rib Cage
Moving an elbow across the body is not the same as rotating your torso. Turn your shoulder and rib cage toward the opposite hip. Your elbow will move naturally as your upper body turns.
Keep Your Elbows Comfortably Open
Your elbows do not need to point straight sideways, but avoid squeezing them tightly around your face. A comfortable open position can reduce the urge to pull your head toward your knee.
Control Your Lower Back
Keep your pelvis steady and your lower back supported. If the lower back lifts or arches as one leg extends, raise that leg higher, keep the knee slightly bent or use a feet-down option.
Reach the Leg Long Instead of Kicking
Extend the opposite leg smoothly. A quick kicking motion uses momentum and can pull the pelvis out of position. Imagine reaching through the heel or toes at a height you can control.
Pass Through the Centre
Briefly return through a balanced tabletop position before rotating to the next side. This reduces swinging and makes it easier to count every repetition.
Use Steady Breathing
Exhale as you rotate and inhale as you pass through the centre. The exact pattern can vary, but avoid holding your breath during the set.
Short coaching cues: “Hands stay light.” “Lift with your abs.” “Rotate your ribs.” “Shoulder to opposite knee.” “Reach the other leg long.” “Slow down.”
How Low Should the Extended Leg Go?
Extend your leg only as low as you can while controlling your lower back. A lower leg position creates a longer lever and usually makes the exercise harder. A higher leg position is easier to manage.
If your lower back begins to lift, raise the leg, bend the knee, keep one foot down or shorten the set. Good control is more important than placing your heel close to the floor.
How Do You Count Bicycle Abs?
In BoardGains, each completed side counts as one repetition:
- Left shoulder toward right knee = rep 1
- Right shoulder toward left knee = rep 2
- Left shoulder toward right knee = rep 3
- Right shoulder toward left knee = rep 4
One complete right-and-left cycle equals two BoardGains reps. Some workout programs count the pair as one rep, so teachers and instructors should explain their method before the set.
BoardGains counting tip: Every side counts. A player finishes the repetition after rotating toward one bent knee and returning through the centre to switch.
What Muscles Do Bicycle Crunches Work?
- Rectus abdominis: The front abdominal muscle helps lift the shoulder blades and control the torso.
- Internal and external obliques: The side abdominal muscles help rotate the upper body toward the opposite knee.
- Transverse abdominis: This deeper core muscle helps stabilize the pelvis and trunk.
- Hip flexors: Help bring each knee toward the chest and control the cycling movement.
- Quadriceps: Help straighten the extending leg.
- Spinal stabilizers: Help control the torso and lower-back position.
The muscle challenge changes with your leg height, extension length, upper-body lift and speed. Slowing the movement often increases control and reduces momentum.
Benefits of Bicycle Crunches
Train the Front and Sides of the Core
Bicycle crunches combine a crunching action with torso rotation. This challenges the rectus abdominis and obliques in the same exercise.
Require No Equipment
The exercise can be performed anywhere you have enough floor space. A mat may improve comfort but is not required.
Challenge Coordination
Your upper and lower body move in an alternating pattern. One knee bends, the other leg extends and the opposite shoulder turns at the same time.
Offer Useful Modifications
You can keep one foot down, keep the knees bent, rest the head or remove the leg movement. These options allow participants to practise one part of the exercise before combining everything.
Fit Into Circuits and Games
Bicycle Abs can be added to full-body circuits, core workouts, PE stations and fitness games. Everyone can work at the same time without shared equipment.
Can Be Slowed for More Control
Taking two or three seconds per side reduces momentum. It also makes it easier to feel the torso rotate and notice when the lower back begins to lift.
An American Council on Exercise-sponsored study reported high abdominal and oblique muscle activation during the bicycle manoeuvre compared with several exercises it tested. Exercise selection should still depend on comfort, skill and goals.
Bicycle Crunch Modifications for Beginners
1. Feet-Down Bicycle Abs
This is the main BoardGains modification. Lie on your back with both knees bent and feet flat. Keep one foot planted while bringing the opposite knee toward your chest. Rotate the opposite shoulder toward that knee, return the foot to the floor and switch sides.
Keeping one foot down provides more support and reduces the challenge on the lower back.
2. Bent-Knee Bicycle Crunch
Keep both knees bent throughout the movement instead of fully straightening the extending leg. The shorter lever is easier to control.
3. Head-Down Bicycle Legs
Keep your head and shoulders resting on the floor. Alternate extending one leg while bringing the other knee in. This removes the crunch and lets you practise the leg pattern.
4. Feet-Down Torso Rotation
Keep both feet planted and knees bent. Lift your shoulder blades slightly and alternate rotating the upper body from side to side. This lets you practise rotation without moving the legs.
5. Standing Bicycle Crunch
Stand tall with your hands near your head. Lift one knee and rotate the opposite shoulder toward it. Return to standing and switch. This removes the floor position and may be more comfortable for some participants.
Progression tip: Learn the leg motion and torso rotation separately if needed. Combine them only when you can keep your hands light and your lower back controlled.
Bicycle Crunch Variations
- Slow bicycle crunch: Take two or three seconds to complete each side. This reduces momentum and increases control.
- Pause bicycle crunch: Hold each rotation for one or two seconds before switching.
- Straight-leg bicycle crunch: Fully extend the moving leg while keeping it at a height your lower back can control.
- Seated bicycle crunch: Sit with your knees bent, lean back and alternate extending one leg while bringing the other knee in.
- Arms-crossed bicycle crunch: Cross your arms over your chest and rotate one shoulder toward the opposite knee. This may help if you tend to pull your neck.
- Dead-bug bicycle legs: Keep your head down and move the legs slowly while maintaining a stable pelvis.
More speed is not a useful progression if it causes your hips to rock or your neck to strain. Increase control, range or pause time before adding faster repetitions.
Common Bicycle Crunch Mistakes and How to Fix Them
Mistake 1: Pulling on the Neck
What it looks like: The hands pull the head forward and the chin moves toward the chest.
Try this: Keep your fingertips light, lift with your abdominals or cross your arms over your chest.
Mistake 2: Moving Only the Elbows
What it looks like: An elbow swings across while the rib cage barely turns.
Try this: Rotate your shoulder and ribs toward the opposite hip. Let the elbow follow.
Mistake 3: Closing the Elbows
What it looks like: The elbows squeeze around the face to force contact with the knee.
Try this: Keep them comfortably open and focus on torso movement rather than touching.
Mistake 4: Moving Too Quickly
What it looks like: The legs pedal fast and momentum rocks the body.
Try this: Pause briefly in each rotation and pass through the centre before switching.
Mistake 5: Lower Back Arches
What it looks like: The lower back lifts as the extended leg moves toward the floor.
Try this: Raise the leg, keep the knee bent or use the feet-down modification.
Mistake 6: Forcing Elbow-to-Knee Contact
What it looks like: The neck pulls forward or the hips lift so the elbow can touch.
Try this: Aim the shoulder and rib cage toward the opposite knee. Contact is not required.
Mistake 7: Hips Rock Side to Side
What it looks like: The pelvis rolls as the legs switch.
Try this: Slow down, raise the leg position and keep the back of your pelvis connected to the floor.
Mistake 8: Kicking the Leg
What it looks like: The leg shoots out quickly with little control.
Try this: Reach the leg long and pause before bringing it back.
Mistake 9: Holding Your Breath
What it looks like: The face and neck tense as the set continues.
Try this: Exhale during the rotation and inhale through the centre.
How Many Bicycle Crunches Should You Do?
- Beginner: 2 sets of 6 to 8 reps per side
- General fitness: 2 to 3 sets of 10 to 15 reps per side
- Core practice: 6 to 10 slow reps per side
- Timed circuit: 20 to 40 seconds
- BoardGains game: Complete the total number shown, counting each side as one rep
Stop or modify the exercise if you cannot control your neck, torso, pelvis or lower-back position.
Simple Core Circuit
- 10 Bicycle Abs per side
- 20-second forearm plank
- 10 glute bridges
- 10 shoulder taps per side
- Rest for 45 to 90 seconds and repeat for 2 or 3 rounds
Use feet-down Bicycle Abs or head-down bicycle legs when the combined movement becomes difficult to control.
How to Teach Bicycle Abs in PE or Group Fitness
- Give every participant enough floor space and use mats when available.
- Demonstrate the movement slowly from a position the group can see.
- Explain that each side counts as one BoardGains repetition.
- Show the feet-down and head-down options before starting.
- Remind participants to keep their hands light.
- Coach “shoulder toward opposite knee,” not “elbow must touch.”
- Encourage a controlled pace and a steady pelvis.
- Let participants raise the extended leg or keep the knee bent.
- Stop the set if neck or lower-back discomfort develops.
The goal is not to finish first. Every rep should show a controlled leg extension and torso rotation. Participants can use different options while following the same rep count or time interval.
Bicycle Abs in BoardGains
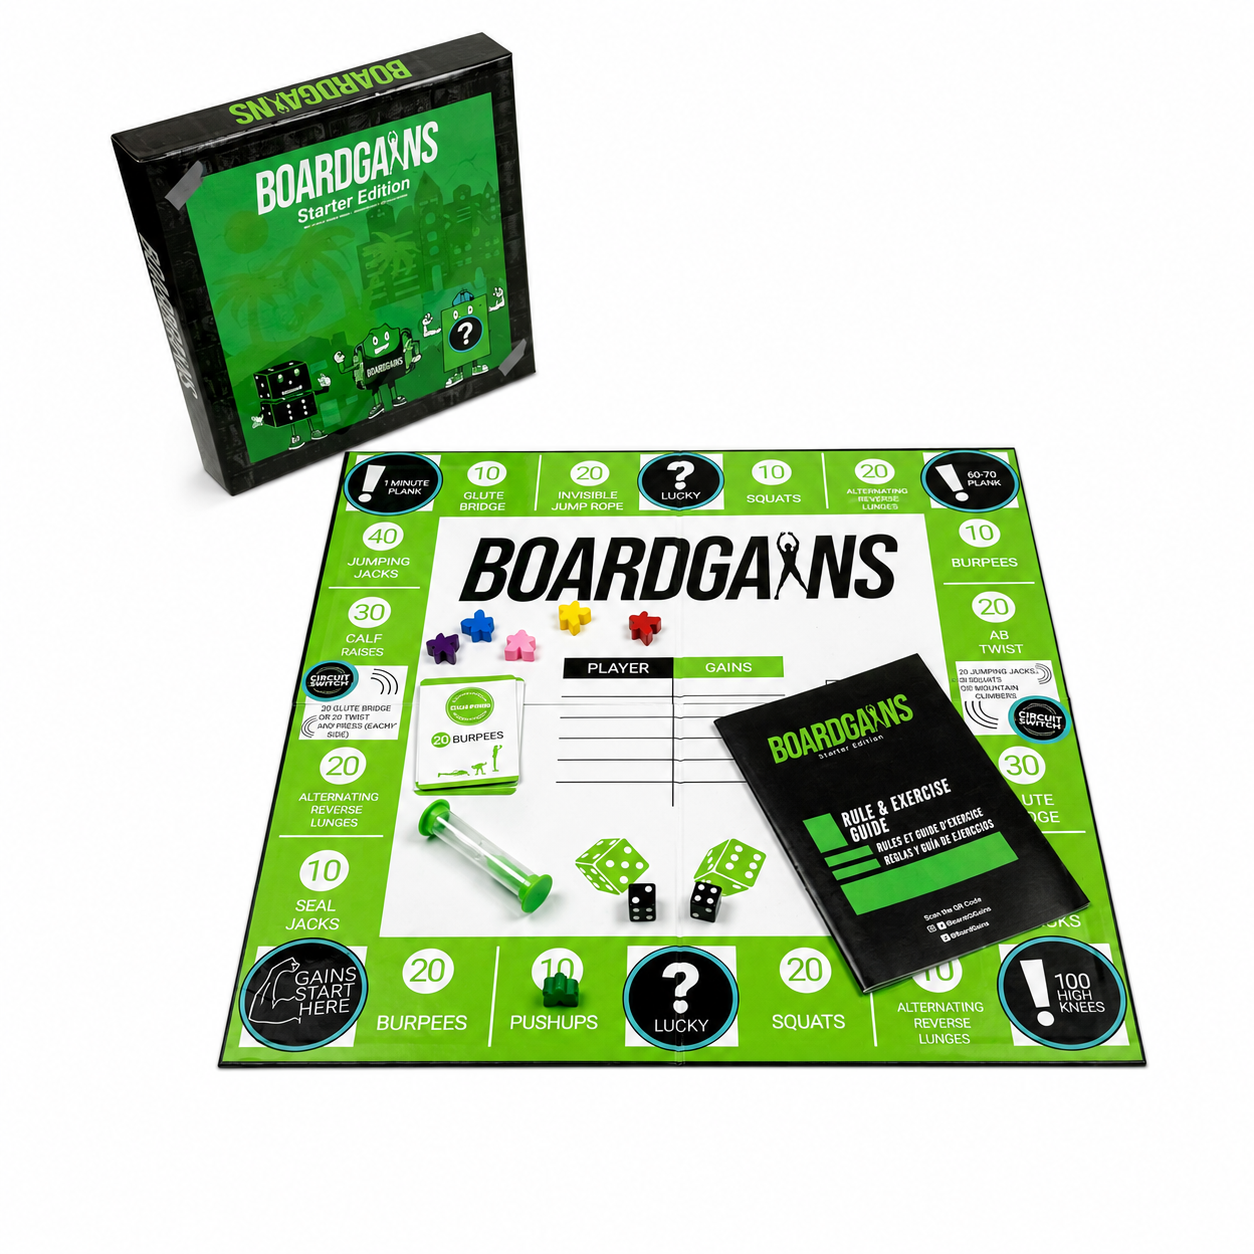
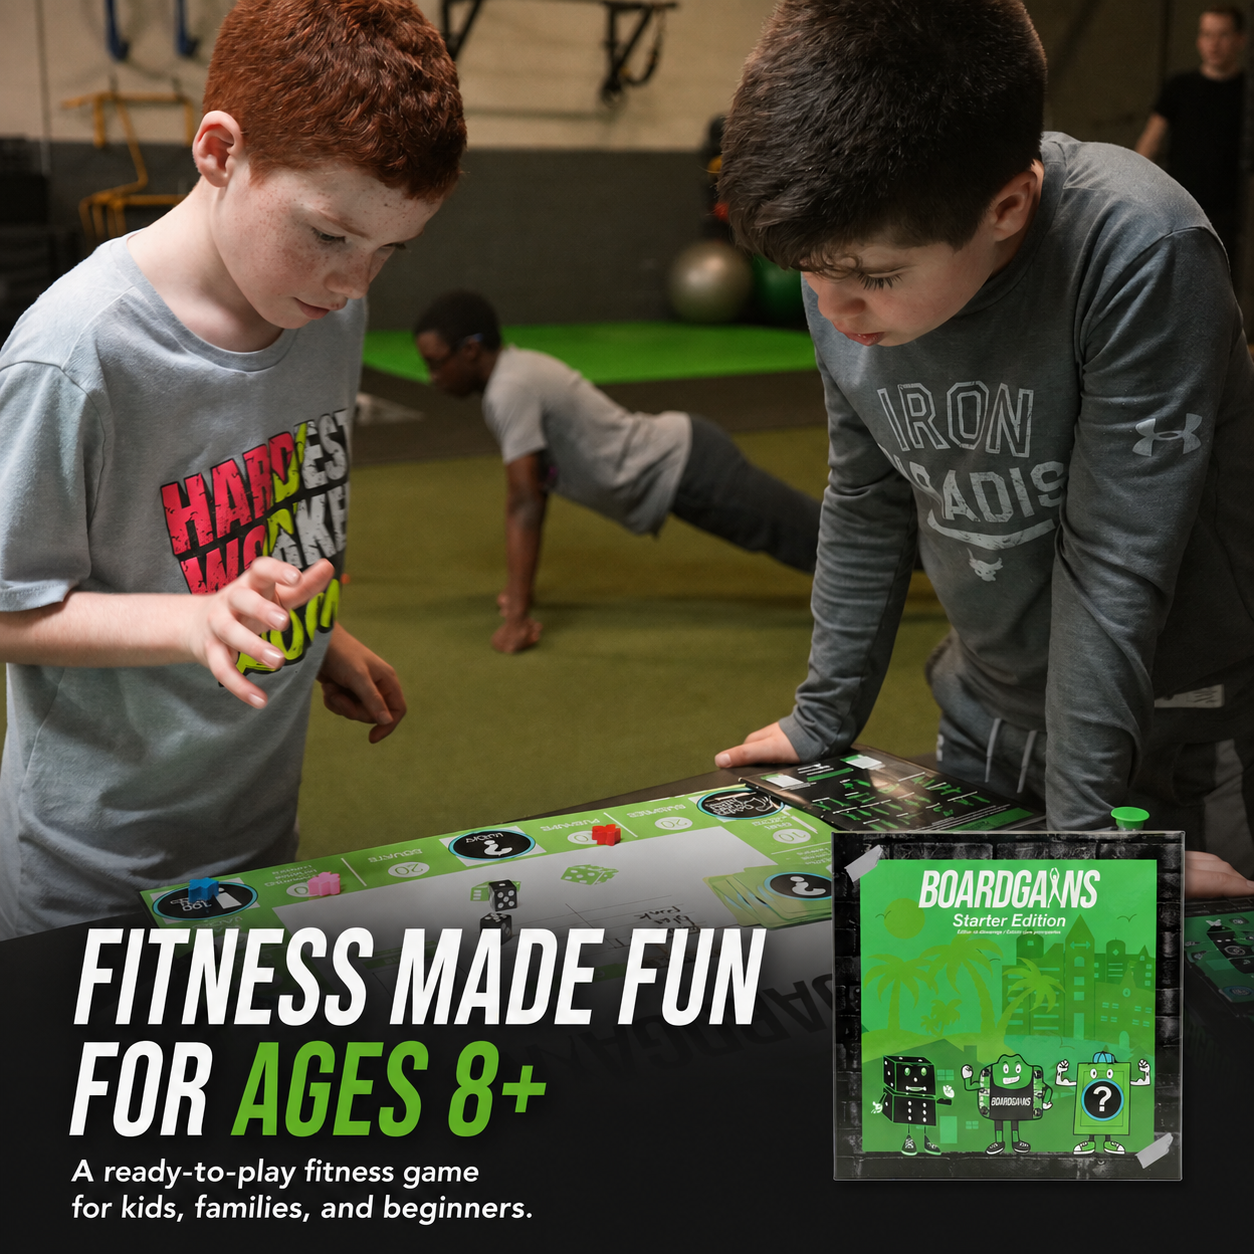
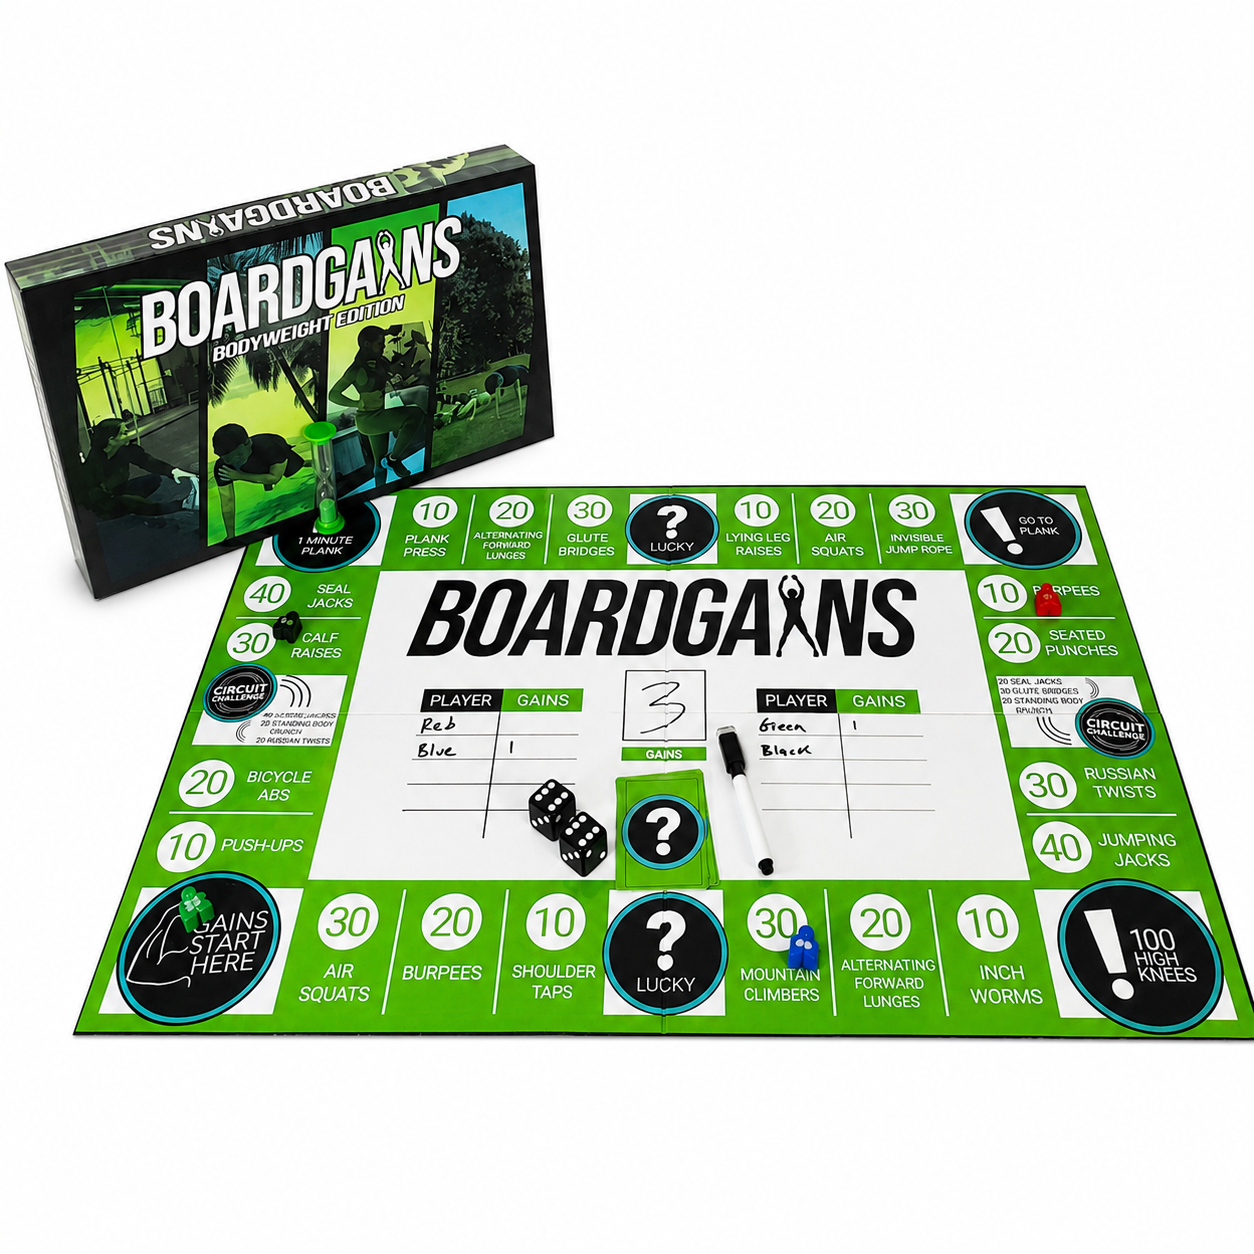
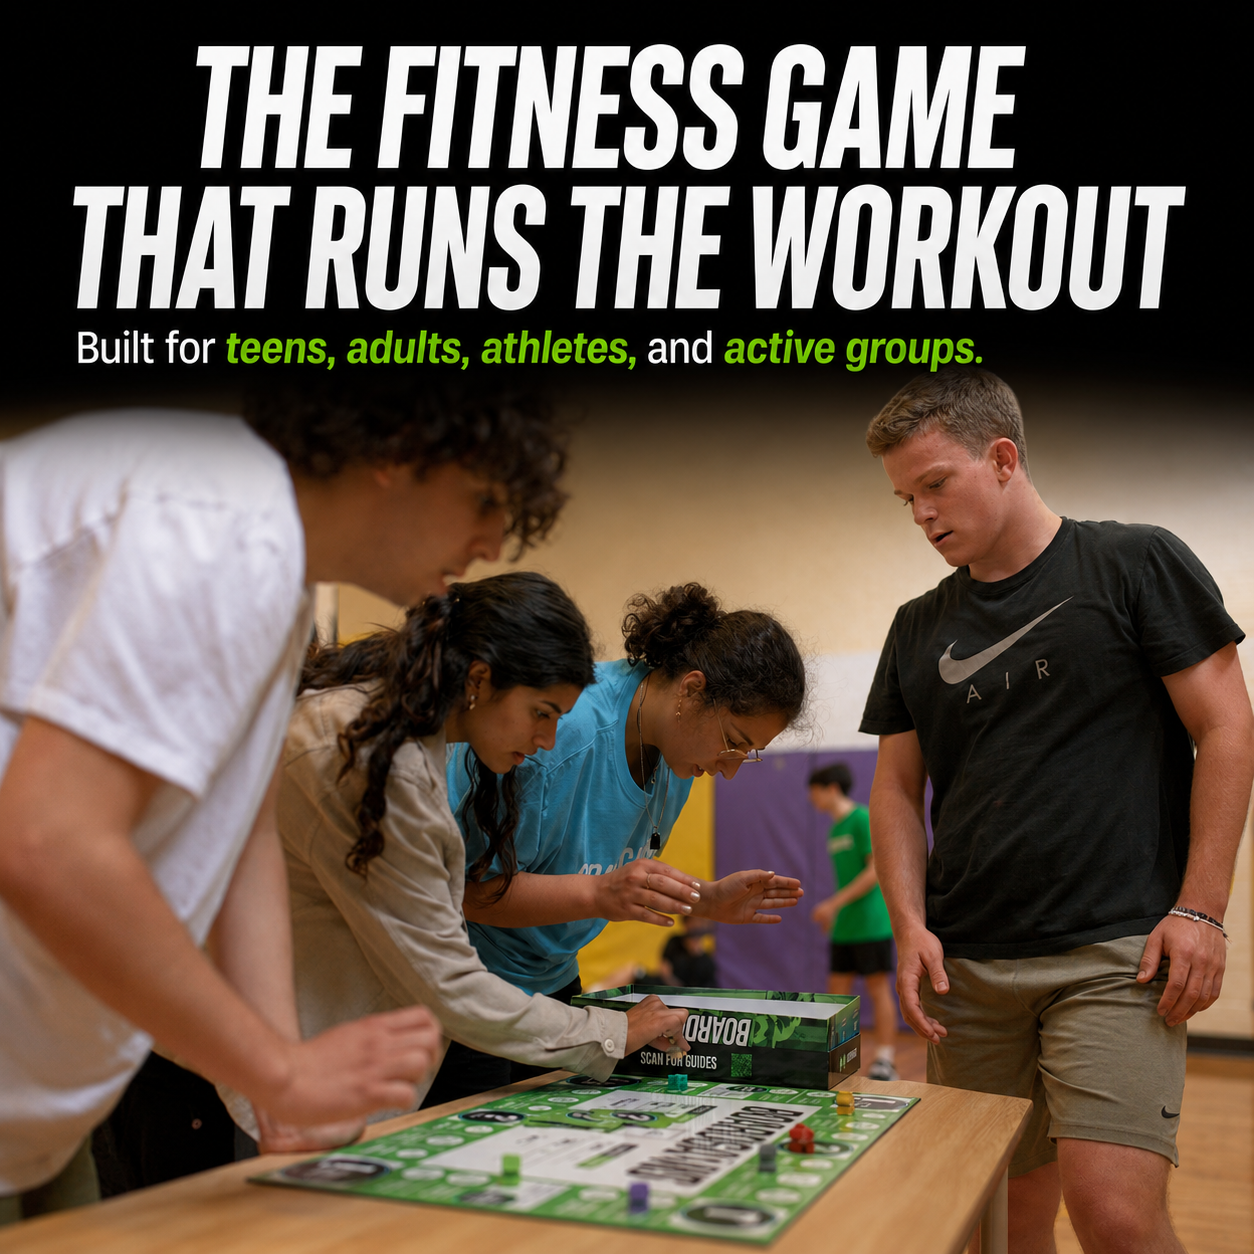
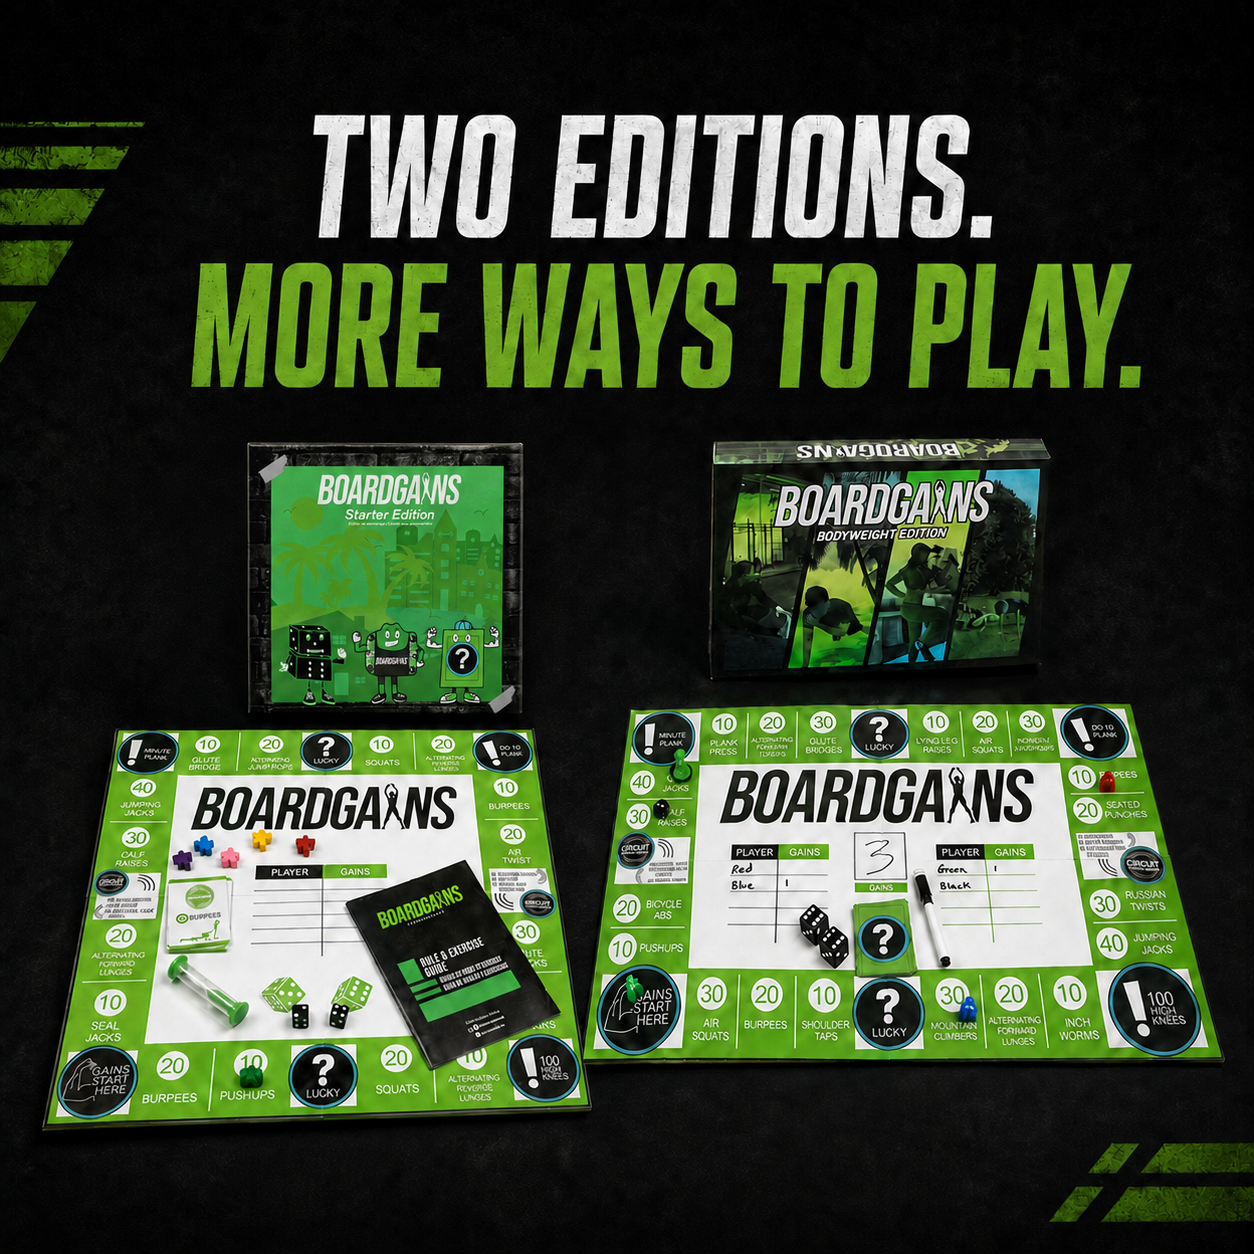
Bicycle Abs are one of the bodyweight exercises included in the BoardGains fitness board game. Players roll the dice, move their game piece and complete the exercise they land on. Everyone plays and exercises at the same time, helping teachers, trainers and coaches keep the whole group active.
When players land on Bicycle Abs, each completed side counts as one rep. The feet-down version, bent-knee version or head-down bicycle legs can be used so participants of different fitness levels stay involved.
Before play begins, review the counting method and show the main modification. During the game, use the cue “shoulder toward opposite knee” and remind players to slow down if their hips begin to rock.
Turn Core Training Into a Game
Bring movement, teamwork and friendly competition to your PE class, group workout, team practice or family fitness session.
Bicycle Abs FAQs
Are Bicycle Abs and bicycle crunches the same exercise?
Yes. Bicycle Abs is the name used in BoardGains. The exercise is commonly called bicycle crunches or the bicycle manoeuvre.
What muscles do bicycle crunches work?
Bicycle crunches mainly work the rectus abdominis and obliques. The hip flexors, quadriceps and deeper core muscles also assist.
Are bicycle crunches good for beginners?
They can be challenging because the arms, torso and legs move together. Beginners can start with feet-down Bicycle Abs, bent knees, head-down bicycle legs or feet-down torso rotations.
Should bicycle crunches be fast or slow?
A slow, controlled pace is usually better for learning the exercise. Moving too fast can lead to neck pulling, hip rocking and momentum.
Why does my neck hurt during bicycle crunches?
Neck discomfort may occur if you pull your head with your hands or hold your head too high for too long. Keep your hands light, lower your shoulders between reps or use the head-down option. Stop if pain continues.
Why does my lower back lift?
Your extended leg may be too low, or the exercise may be too difficult to control. Raise the leg, bend the knee or keep one foot on the floor.
Do my elbows need to touch my knees?
No. Focus on rotating your shoulder and rib cage toward the opposite knee. Contact is not required for a complete rep.
How many bicycle crunches equal one rep?
In BoardGains, each side counts as one rep. A left-side repetition followed by a right-side repetition equals two reps.
Do bicycle crunches burn belly fat?
Bicycle crunches strengthen abdominal muscles, but they cannot remove fat from one body area. Changes in body fat depend on overall nutrition, activity, sleep and other factors.
Can I perform bicycle crunches every day?
Light technique practice may fit into frequent workouts, but harder sets need recovery like other resistance exercises. Frequency should reflect the difficulty, total volume and how your body responds.
Why do I feel bicycle crunches in my hip flexors?
The hip flexors help move and hold the legs. Raise the extended leg, keep one foot down, shorten the set or practise the torso rotation separately if the hip flexors take over.
What should I do if bicycle crunches hurt my back?
Stop the set. Use a feet-down or head-down option and keep the leg higher. If pain is sharp, increasing or ongoing, ask a qualified healthcare professional which exercises are appropriate.
Final Bicycle Abs Form Checklist
- Lie on a comfortable surface with your legs in tabletop
- Keep your fingertips light near your ears
- Lift your shoulders with your abdominal muscles
- Rotate the shoulder and rib cage, not only the elbow
- Bring one knee in as the other leg reaches away
- Keep your pelvis steady
- Extend the leg only as low as your lower back can control
- Pass through the centre before switching
- Use steady breathing
- Slow down or modify when form changes
Think shoulder toward opposite knee, not elbow to knee. Keep your hands light, rotate through your torso and extend the other leg only as low as you can control.

Leave a comment
This site is protected by hCaptcha and the hCaptcha Privacy Policy and Terms of Service apply.